Brand and site
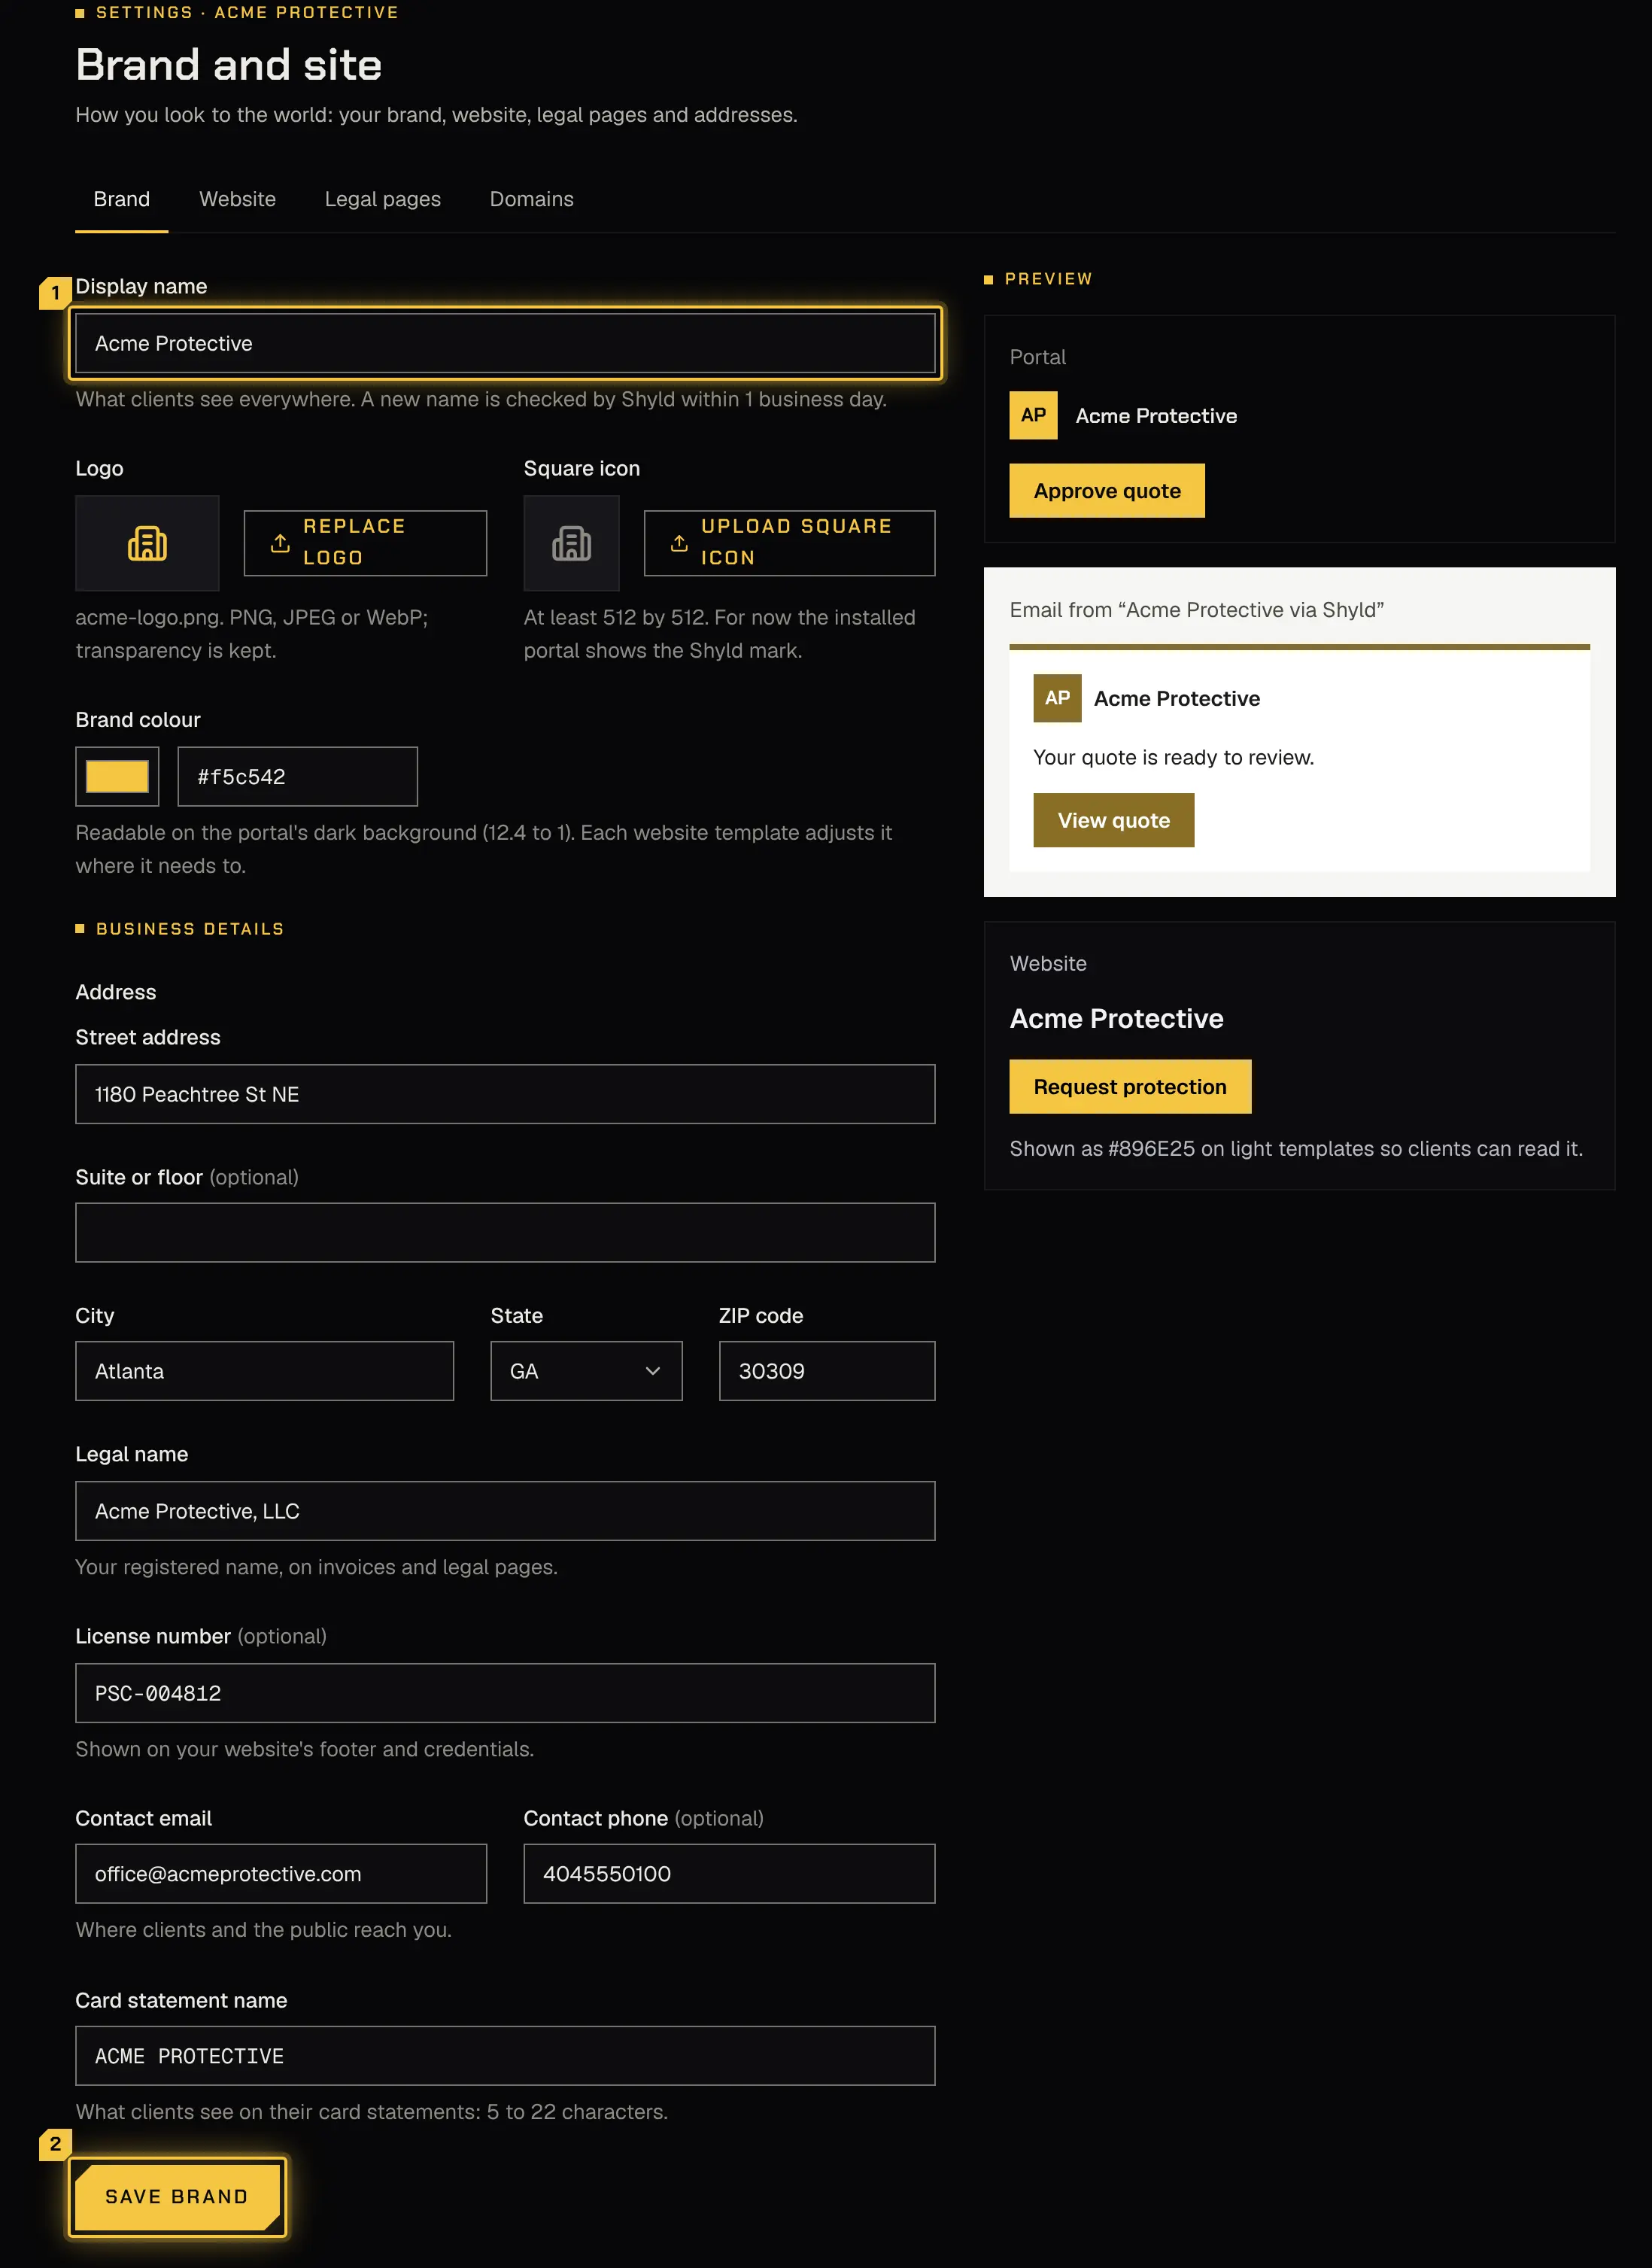
Brand and site is how you look to the world: what your clients see in their portal, emails, invoices and reports, and your public website. Open Settings, then Brand and site. It has four tabs: Brand, Website, Legal pages and Domains.
- Set your Display name, the name clients see everywhere. Once you’re approved, a new name is checked within 1 business day, because your emails come from it; until then clients keep seeing the old one. If Shyld declines the new name, the reason shows here and on Today until you send another one for review.
- Pick a Logo (PNG, JPEG or WebP; transparency is kept) and a Square icon (at least 512 by 512). For now the installed portal shows the platform’s mark.
- Choose a Brand colour. If it’s hard to read on the portal’s dark background, a warning offers the nearest shade that passes; select Use with that shade to take it.
- Under Business details, fill in your address, Legal name (on invoices and legal pages), License number (optional), Contact email, Contact phone (optional) and Card statement name (5 to 22 characters, shown on clients’ card statements).
- Select Save brand.
The preview beside the form shows the portal as you edit. Your brand only ever appears where clients and the public look: the console and the app your agents use keep their own look.
Website
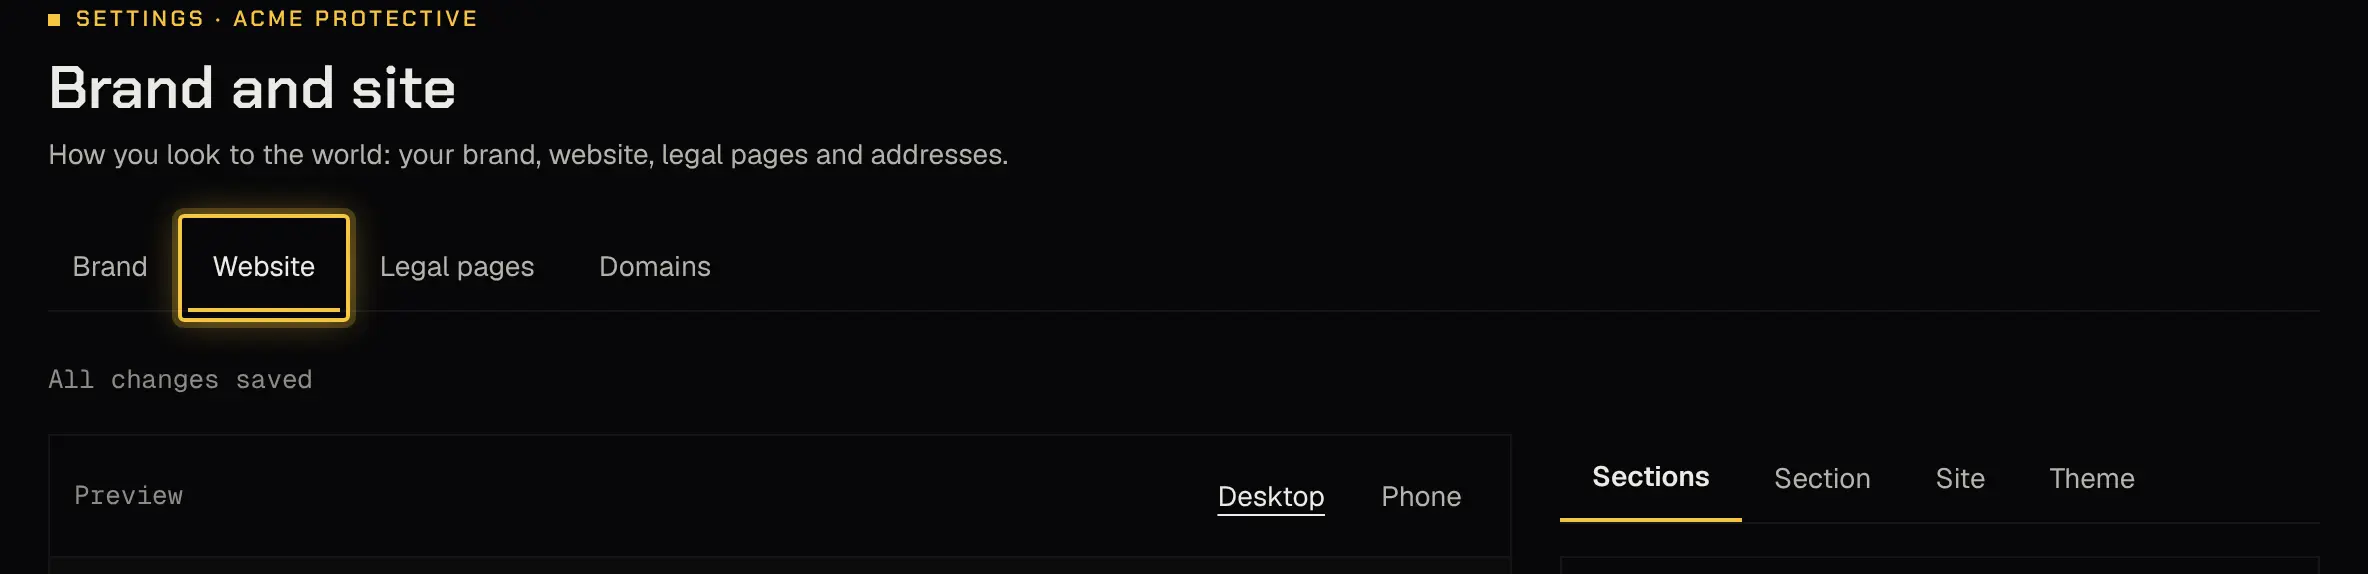
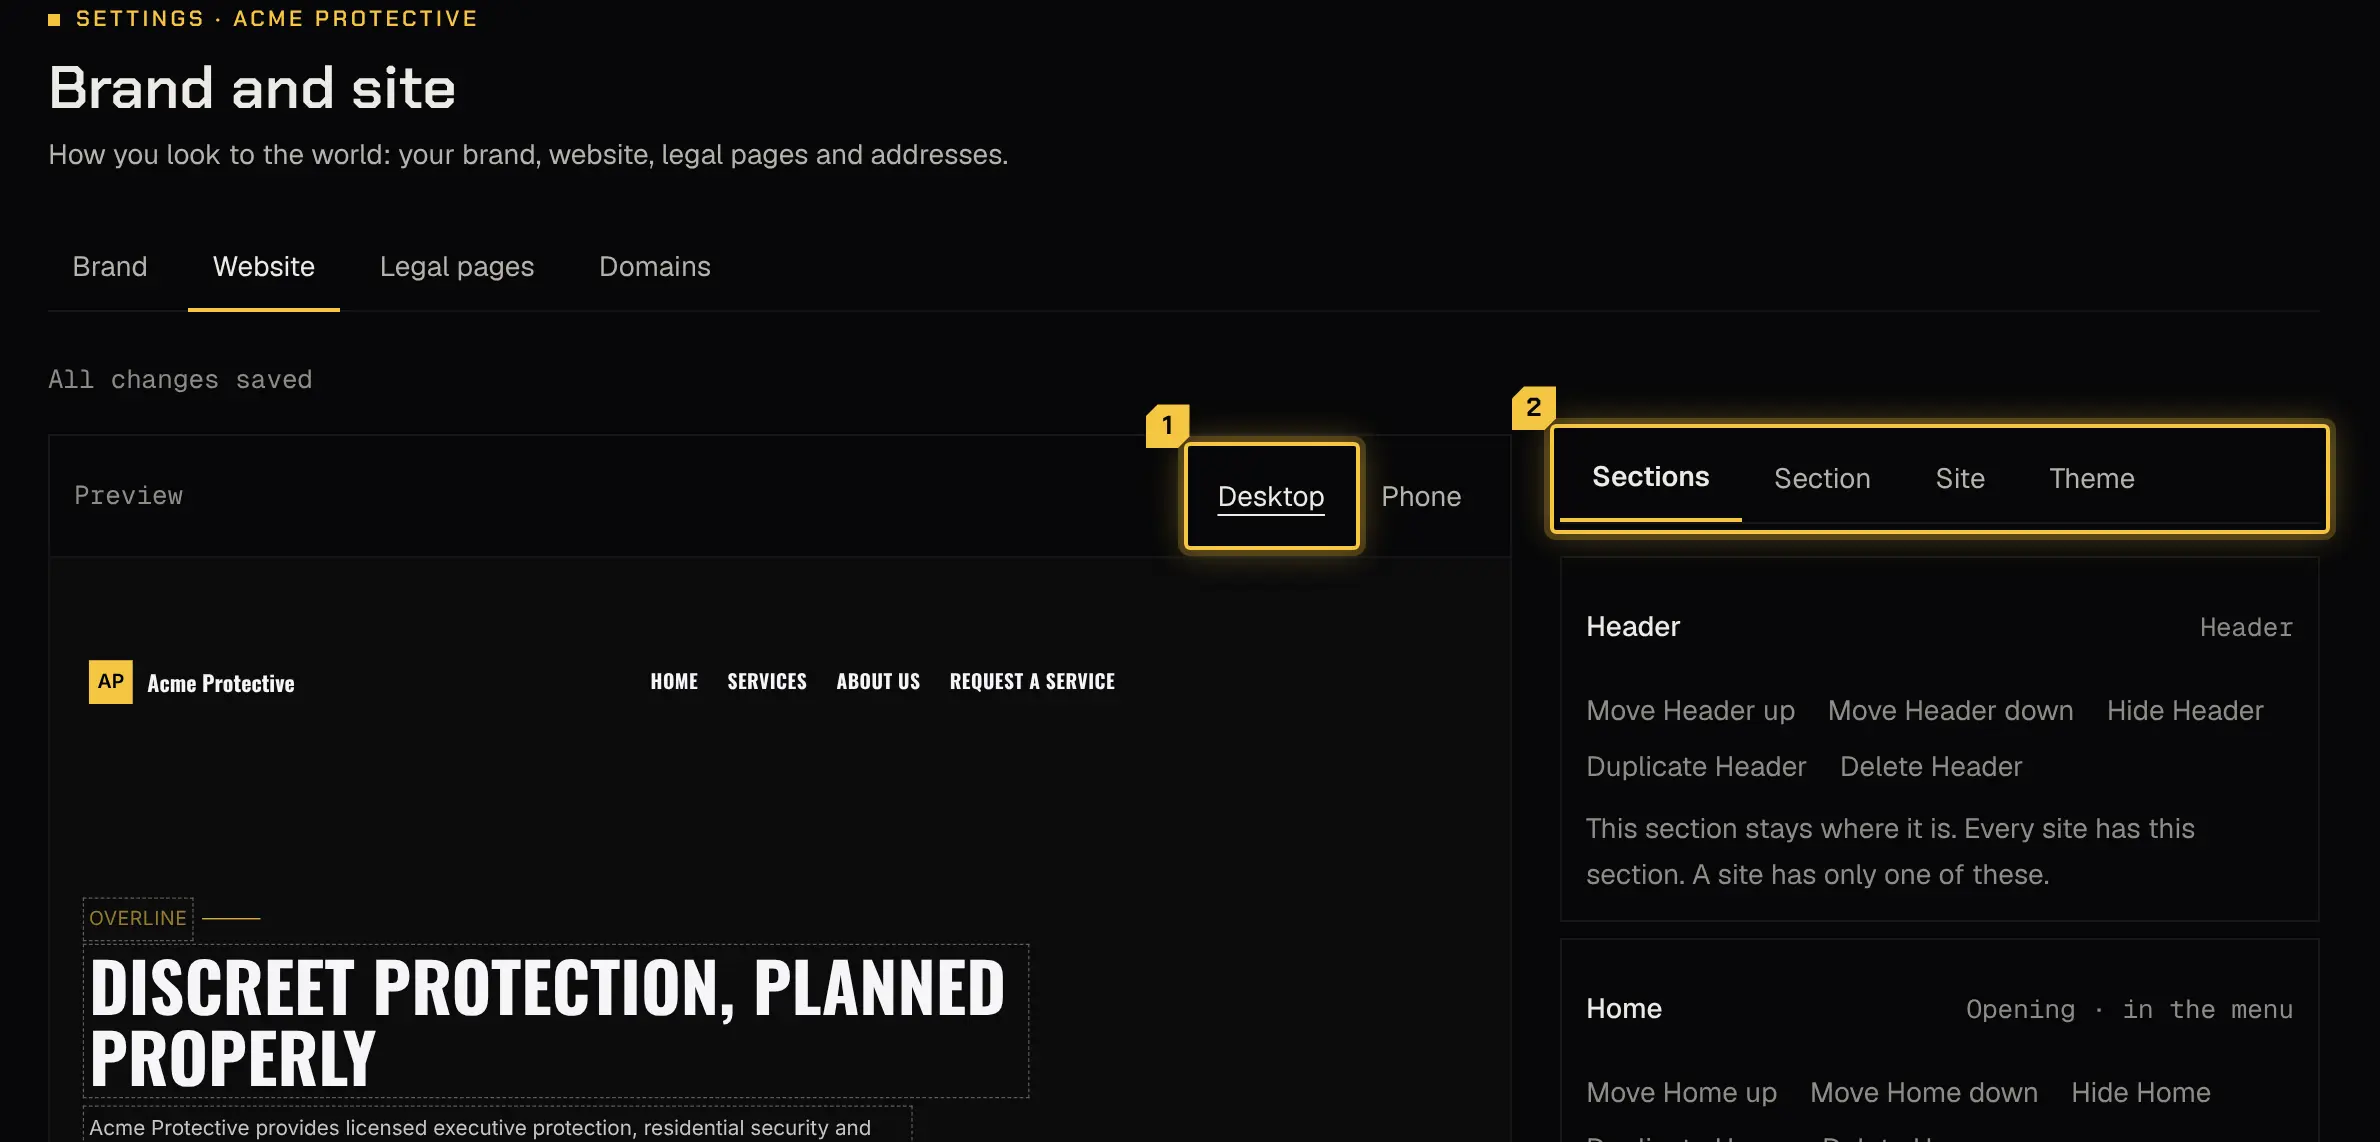
Section titled “Website”Your website lives at the address on the Domains tab. Its request form creates a website request in your bookings. The Website tab is the editor: the page as visitors see it on the left, and on the right the rail with four tabs, Sections, Section, Site and Theme. Desktop and Phone above the page show it at either size.
Edits save to a draft as you go, and the line above the page says All changes saved. The public site changes only when you publish. If someone else saves the website at the same moment, you see their version and choose Put my changes back or Keep theirs.
Editing the words
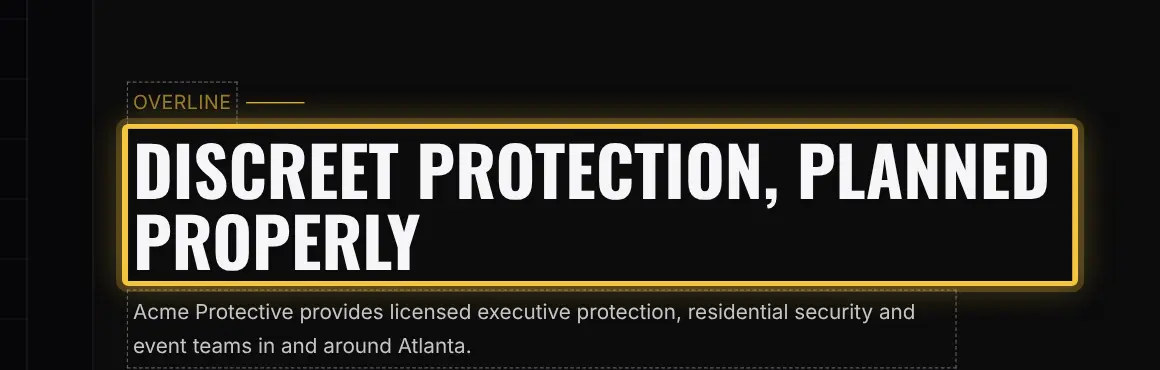
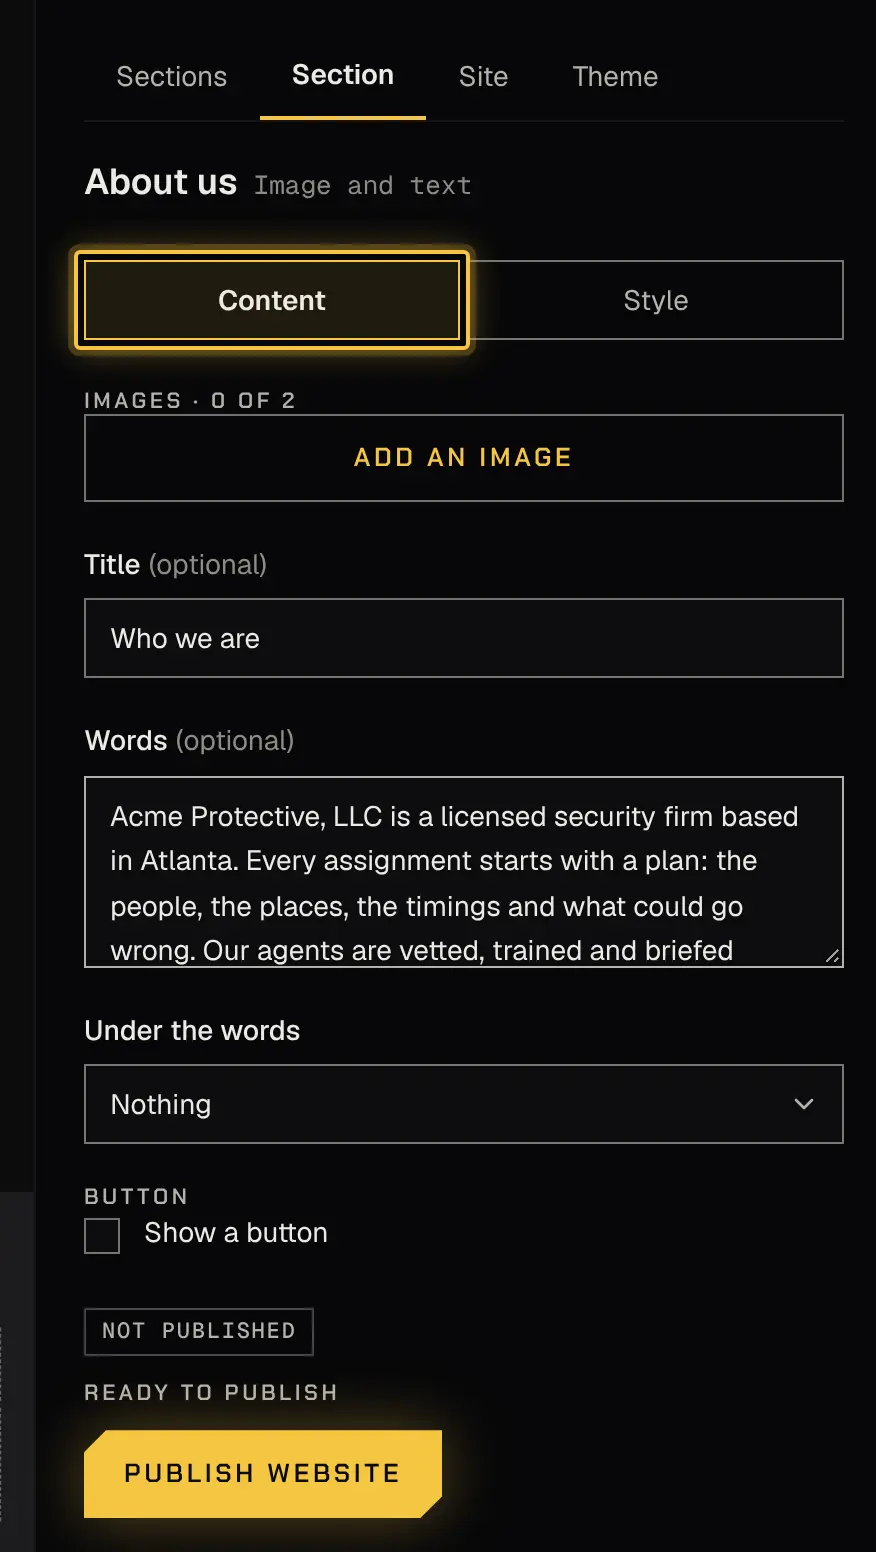
Section titled “Editing the words”Click any heading, line or button on the page and type: the words change where they sit. A field you haven’t filled in yet shows its name, ready to type into. Every word can also be edited in the Section tab’s Content form.
Sections
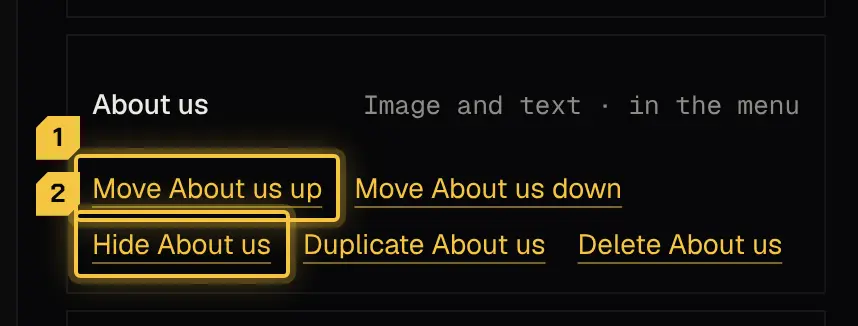
Section titled “Sections”The Sections tab lists the page from top to bottom. On each section you can Move it up or down, Hide it (it stays in your draft and comes back with Show), Duplicate it or Delete it. When one of these isn’t possible, the section says why: every site has its header, opening and footer, and your services list is always on the site.
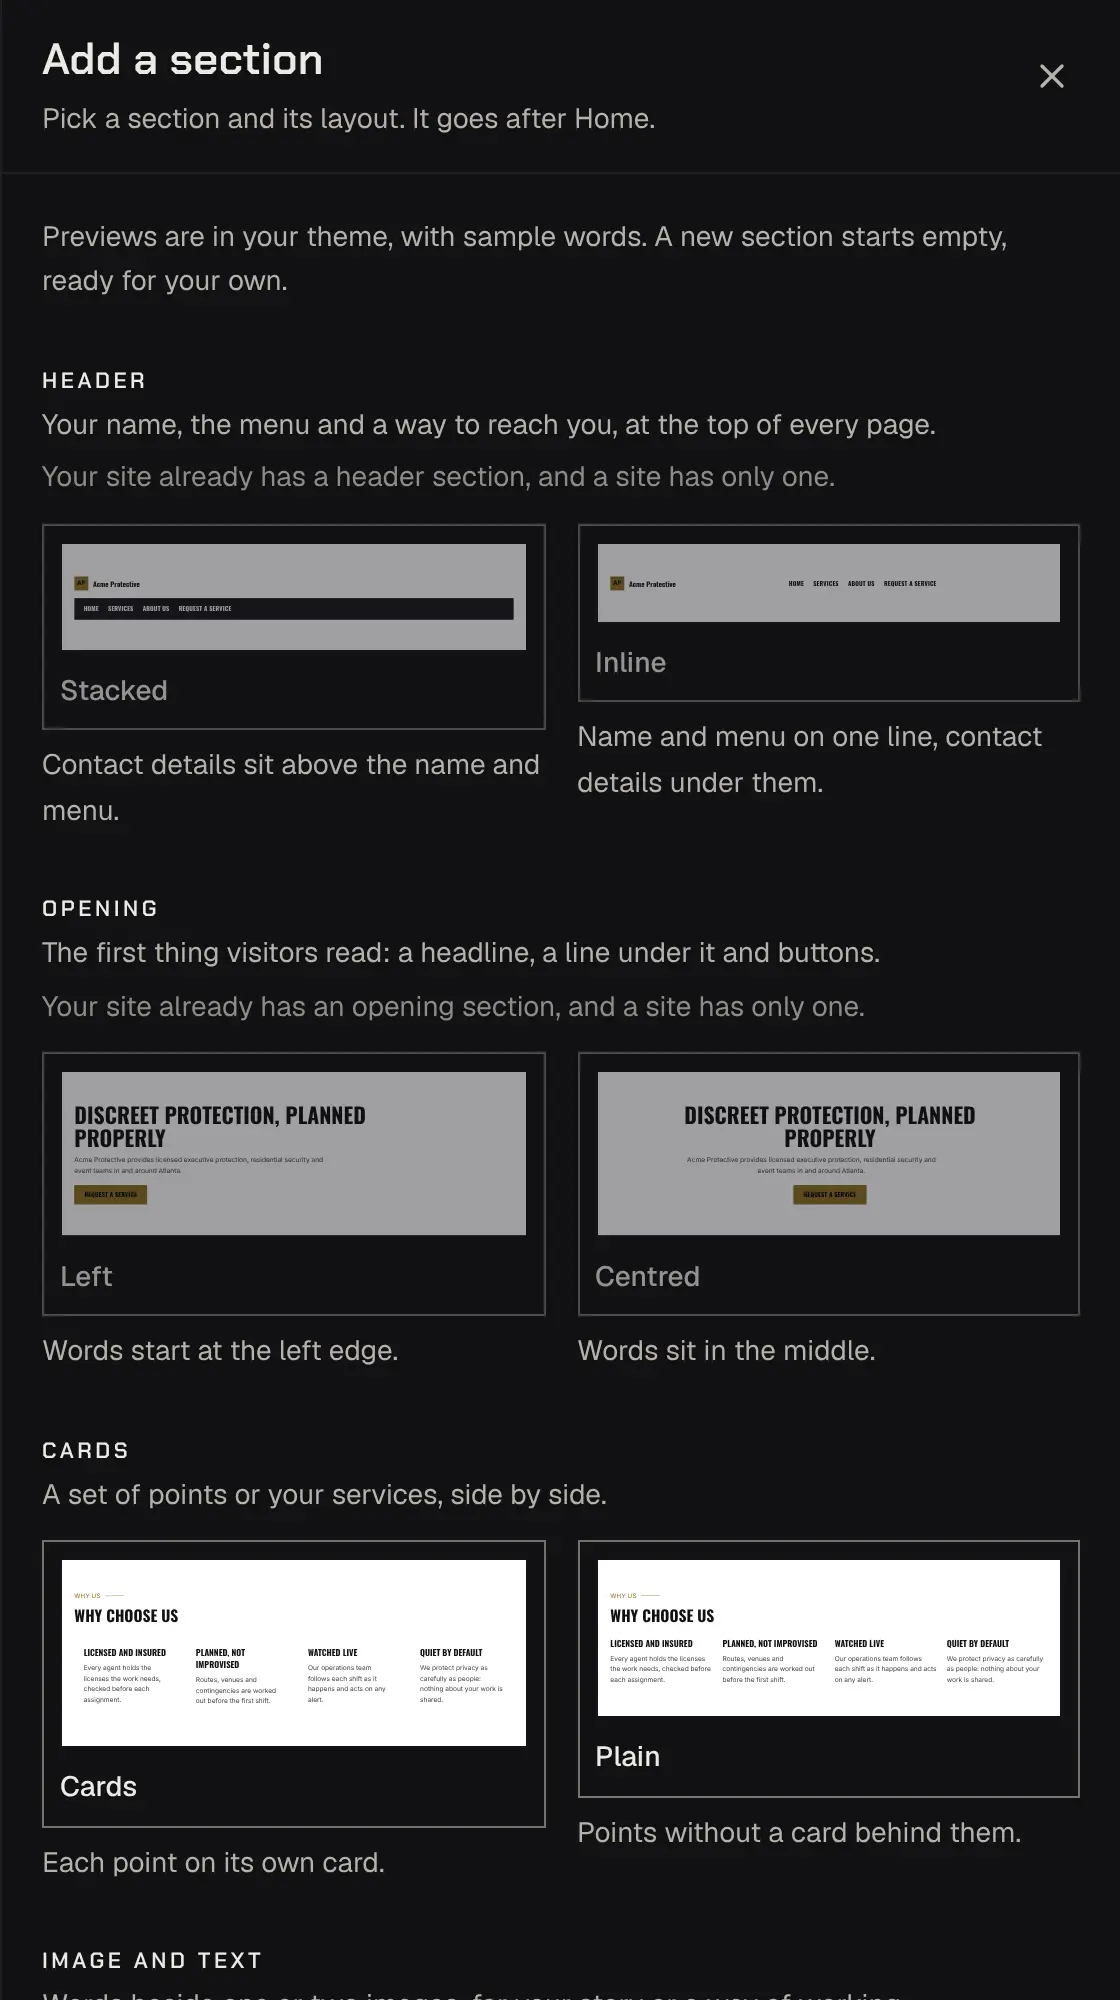
Add a section opens the library: pick a kind and its layout, and it goes in where the list says. A new section starts empty, with its layout’s look.
A section’s words and style
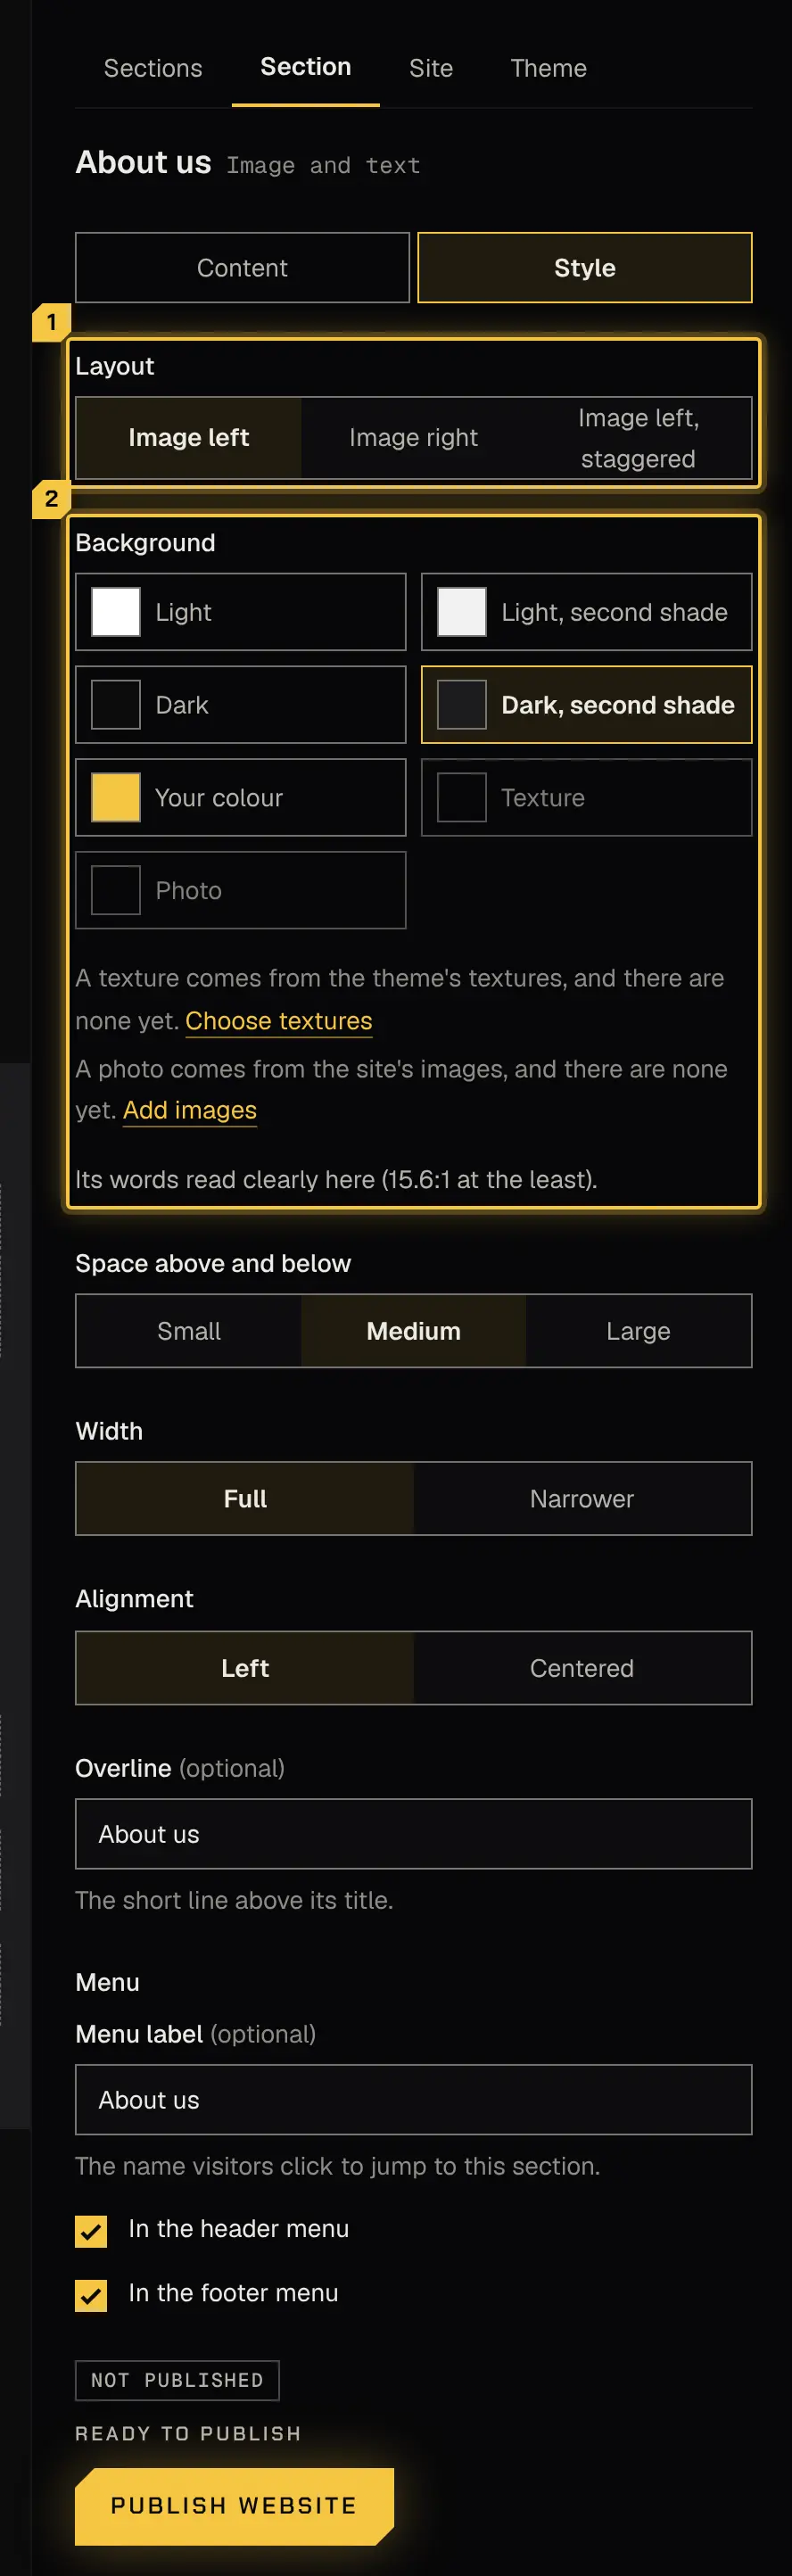
Section titled “A section’s words and style”Select a section, on the page or in the list, to open it in the Section tab. Content holds its words, buttons and pictures. Style sets its layout, background (a colour, a texture or a photo with a shade over it), the space around it, its width, its alignment, its overline and its menu label. If the words wouldn’t read clearly on the background you pick, it says so: darken the photo’s shade or pick another background.
The site’s settings and look
Section titled “The site’s settings and look”The Site tab holds what belongs to the whole site:
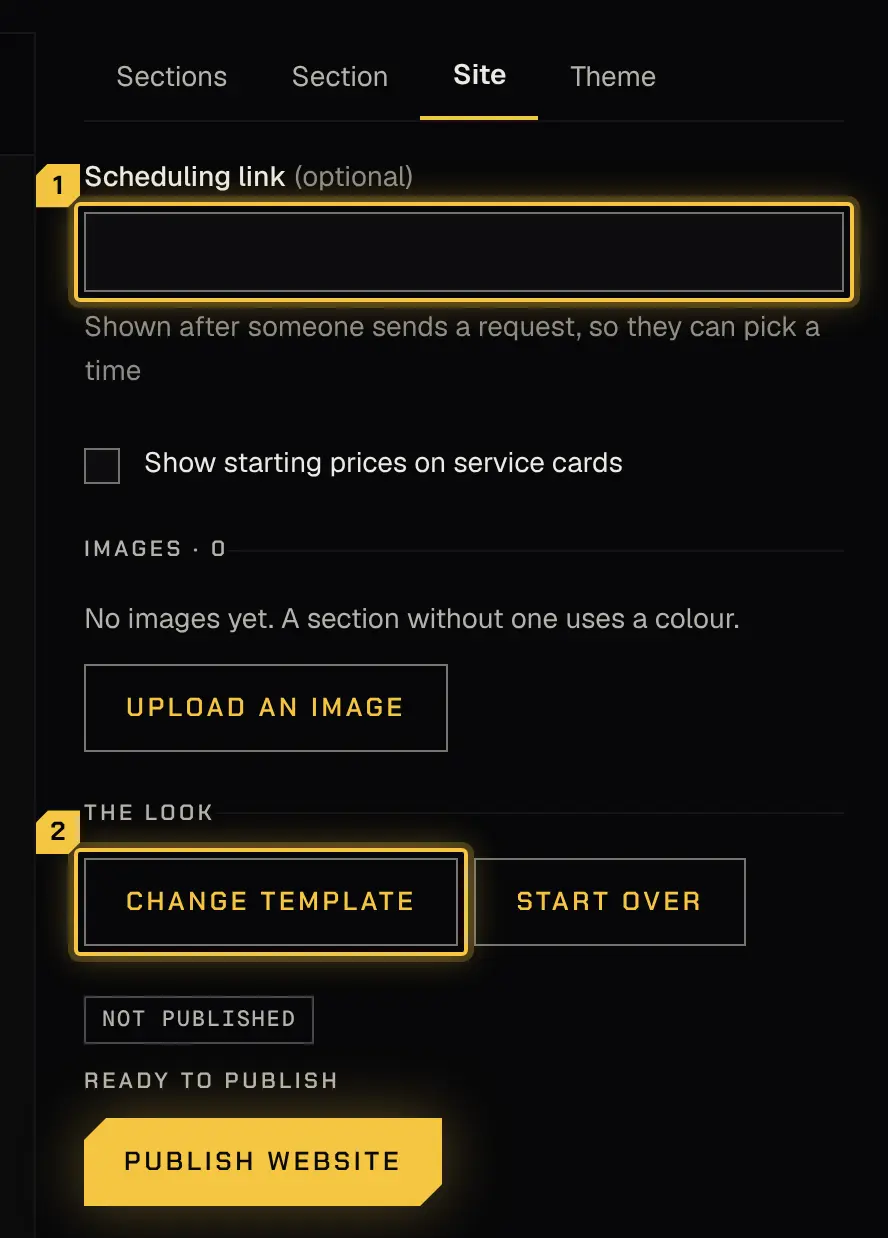
- Scheduling link, if you use a booking page elsewhere; it’s offered after a request is sent.
- Show starting prices on service cards, to add “From $X” to each service.
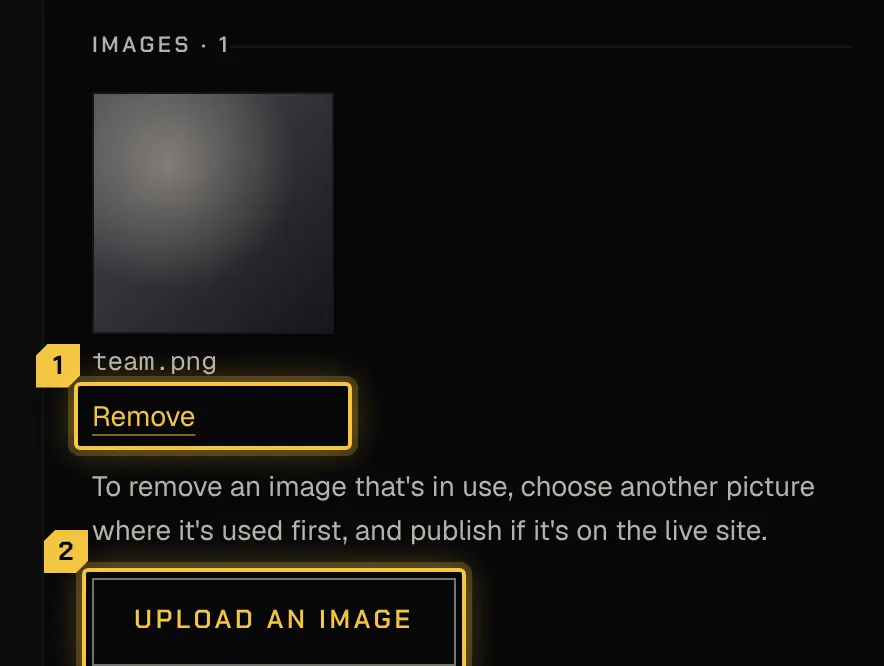
- Images: upload the photos your sections and textures use. Remove takes out an image nothing uses, after you confirm. It’s removed from your website at once, and its file is deleted within 24 hours. It can’t be brought back. An image still in use says where (a section, the theme’s textures, or the live site). Choose another picture there first, and publish if it’s on the live site.
- Change template gives the page another starting look and keeps every word and picture. Start over replaces the page with a starting site and lists what you’d lose first. Both ask before they change anything.
The theme
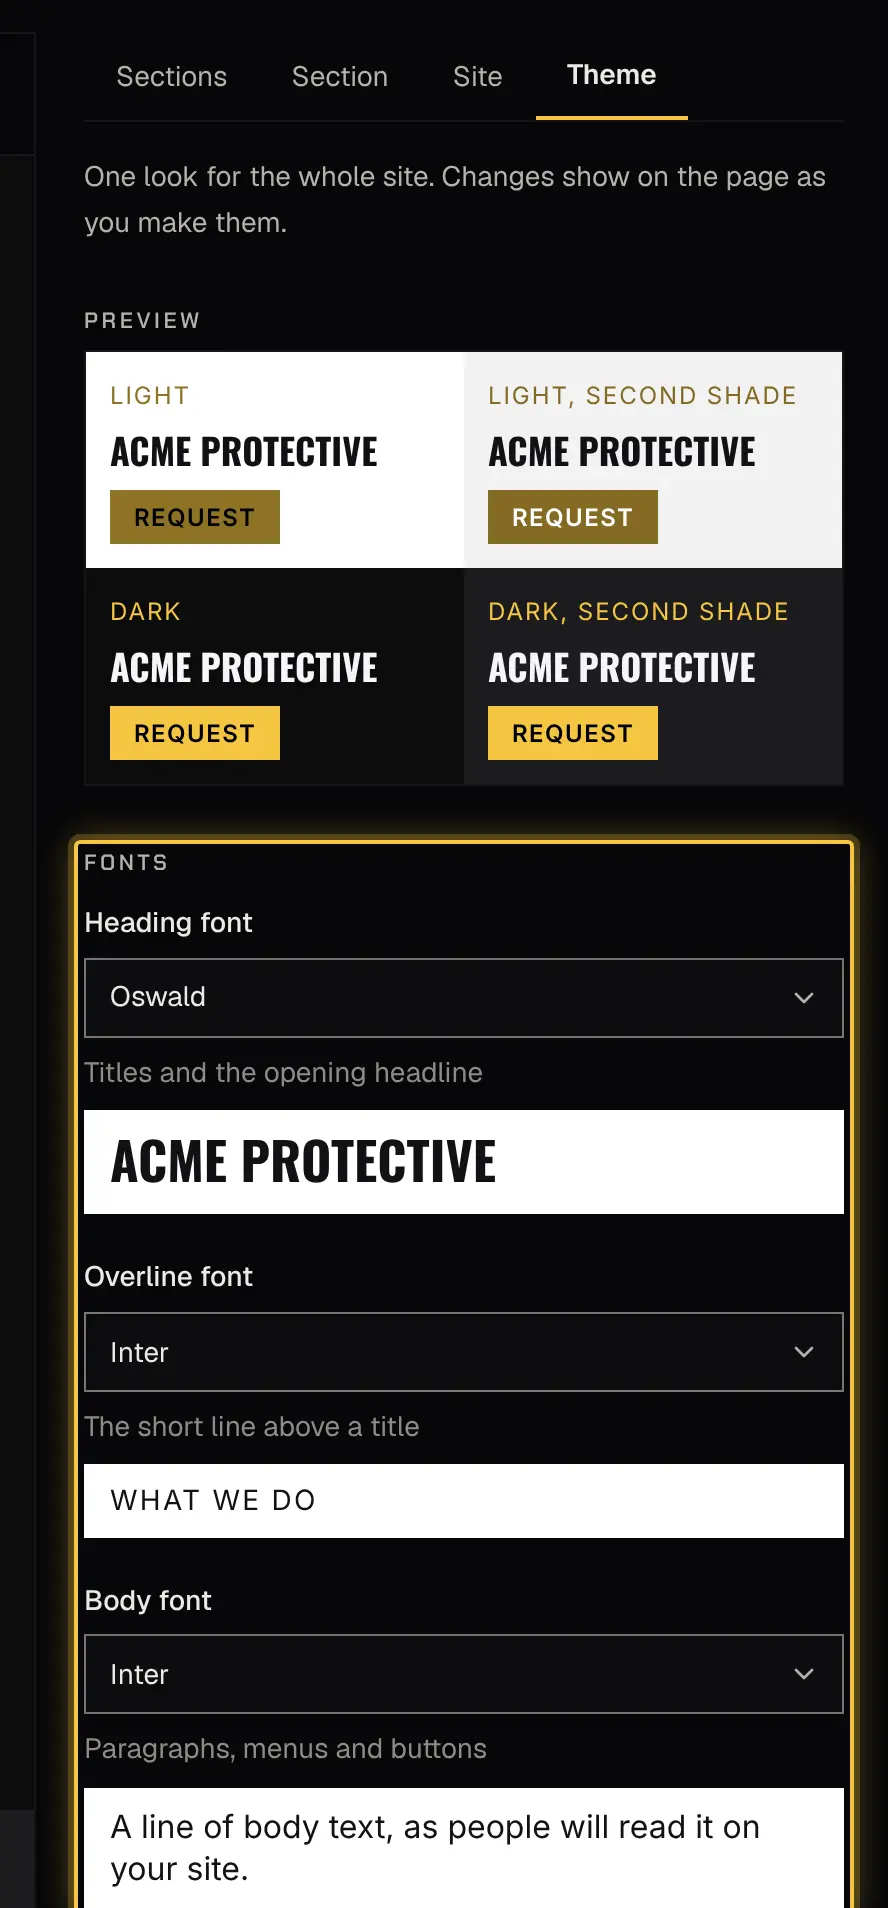
Section titled “The theme”The Theme tab sets the look every section shares: the fonts for headings, overlines and words, the accent colour, the section colours, up to three textures, and how buttons and headings are shaped and lettered. The accent is for buttons, links, icons and accent sections. It is your brand colour from the Brand tab unless you choose Its own colour and pick one; Use the brand colour goes back. Beside the pick you see the shade used on light and on dark sections, drawn just far enough to read.
Publishing
Section titled “Publishing”Before it can go live lists what’s left: a field to fill in, a section to fill or hide, a picture that needs a description, a button that goes nowhere, a scheduling link that isn’t a full https:// address, or no way for visitors to reach you (show the contact section, or your phone or email in the footer). Select one to go to it. Anything your business needs first is listed too, such as accepting your clients’ legal pages. When you publish a new version of them, your site, or its request form if it isn’t published yet, keeps taking requests under the version you accepted, and publishing waits until you accept the new one. While your account is on hold, nothing can be published, a first version or changes, until it’s lifted; your live site stays as it was, and you can still take it offline. When nothing’s left it says Ready to publish: select Publish website (or Publish changes once it’s live). While the live site already matches the draft, it says Up to date and Publish changes stays off until you change something.
Once it’s live, Take offline asks first, then takes the site down; Publish again brings it back.
Until your site is published, or while it’s offline, your address shows the request form on its own, in your colours, so requests can still arrive. The services listed are the service types you let be requested from the website.

Legal pages
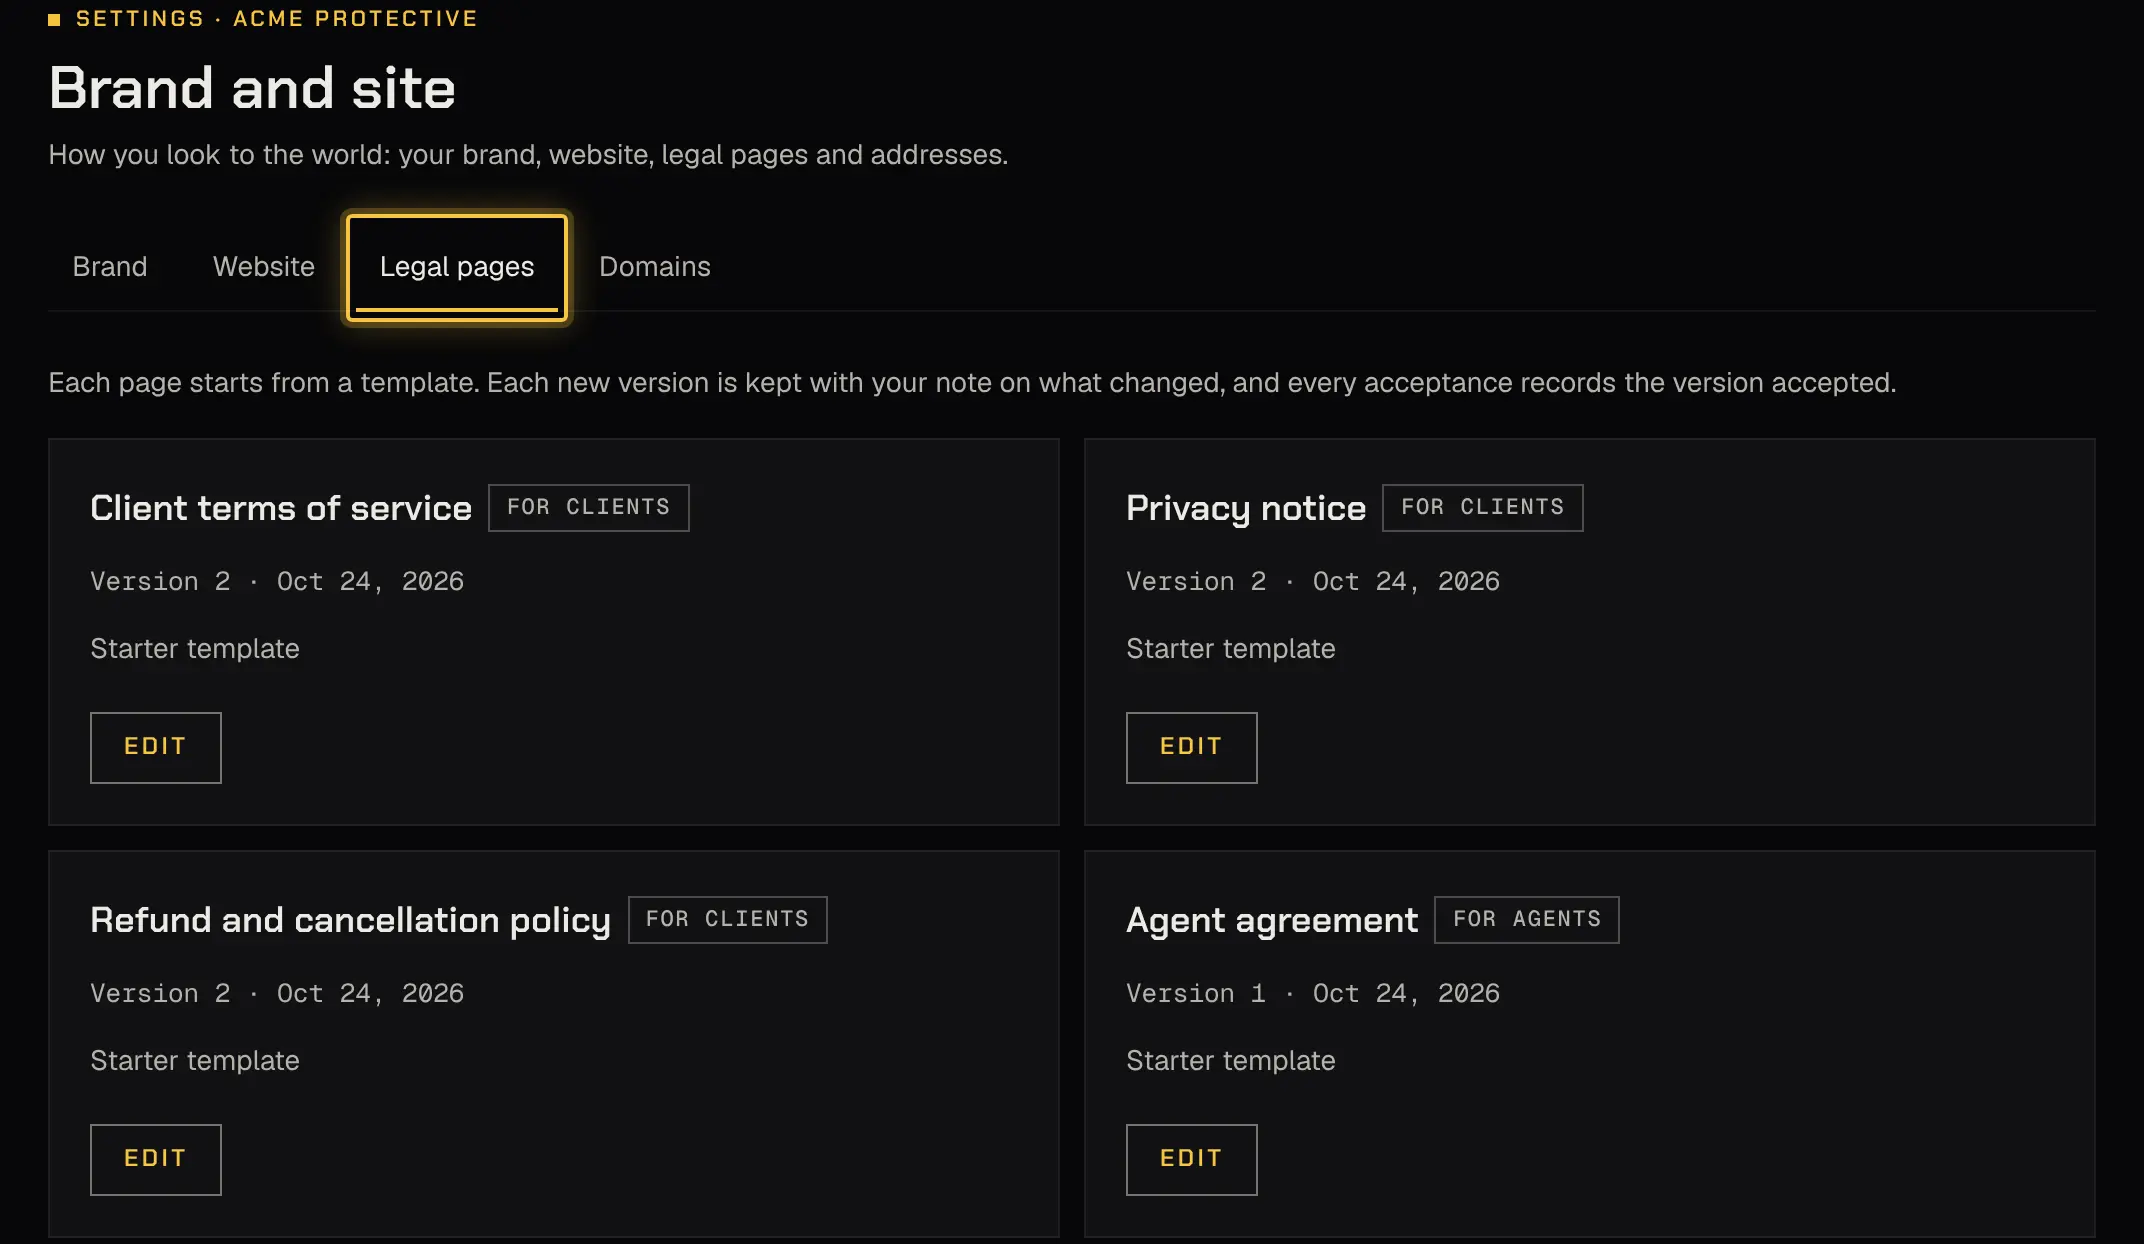
Section titled “Legal pages”Your client terms, privacy and refund policy, and your agent agreement each start from a template.
- Select Edit on a page.
- Change the Page text, and say What changed in one line.
- Select Publish version with its number.
Each version is kept with your note, and every acceptance records which version was accepted.
Domains
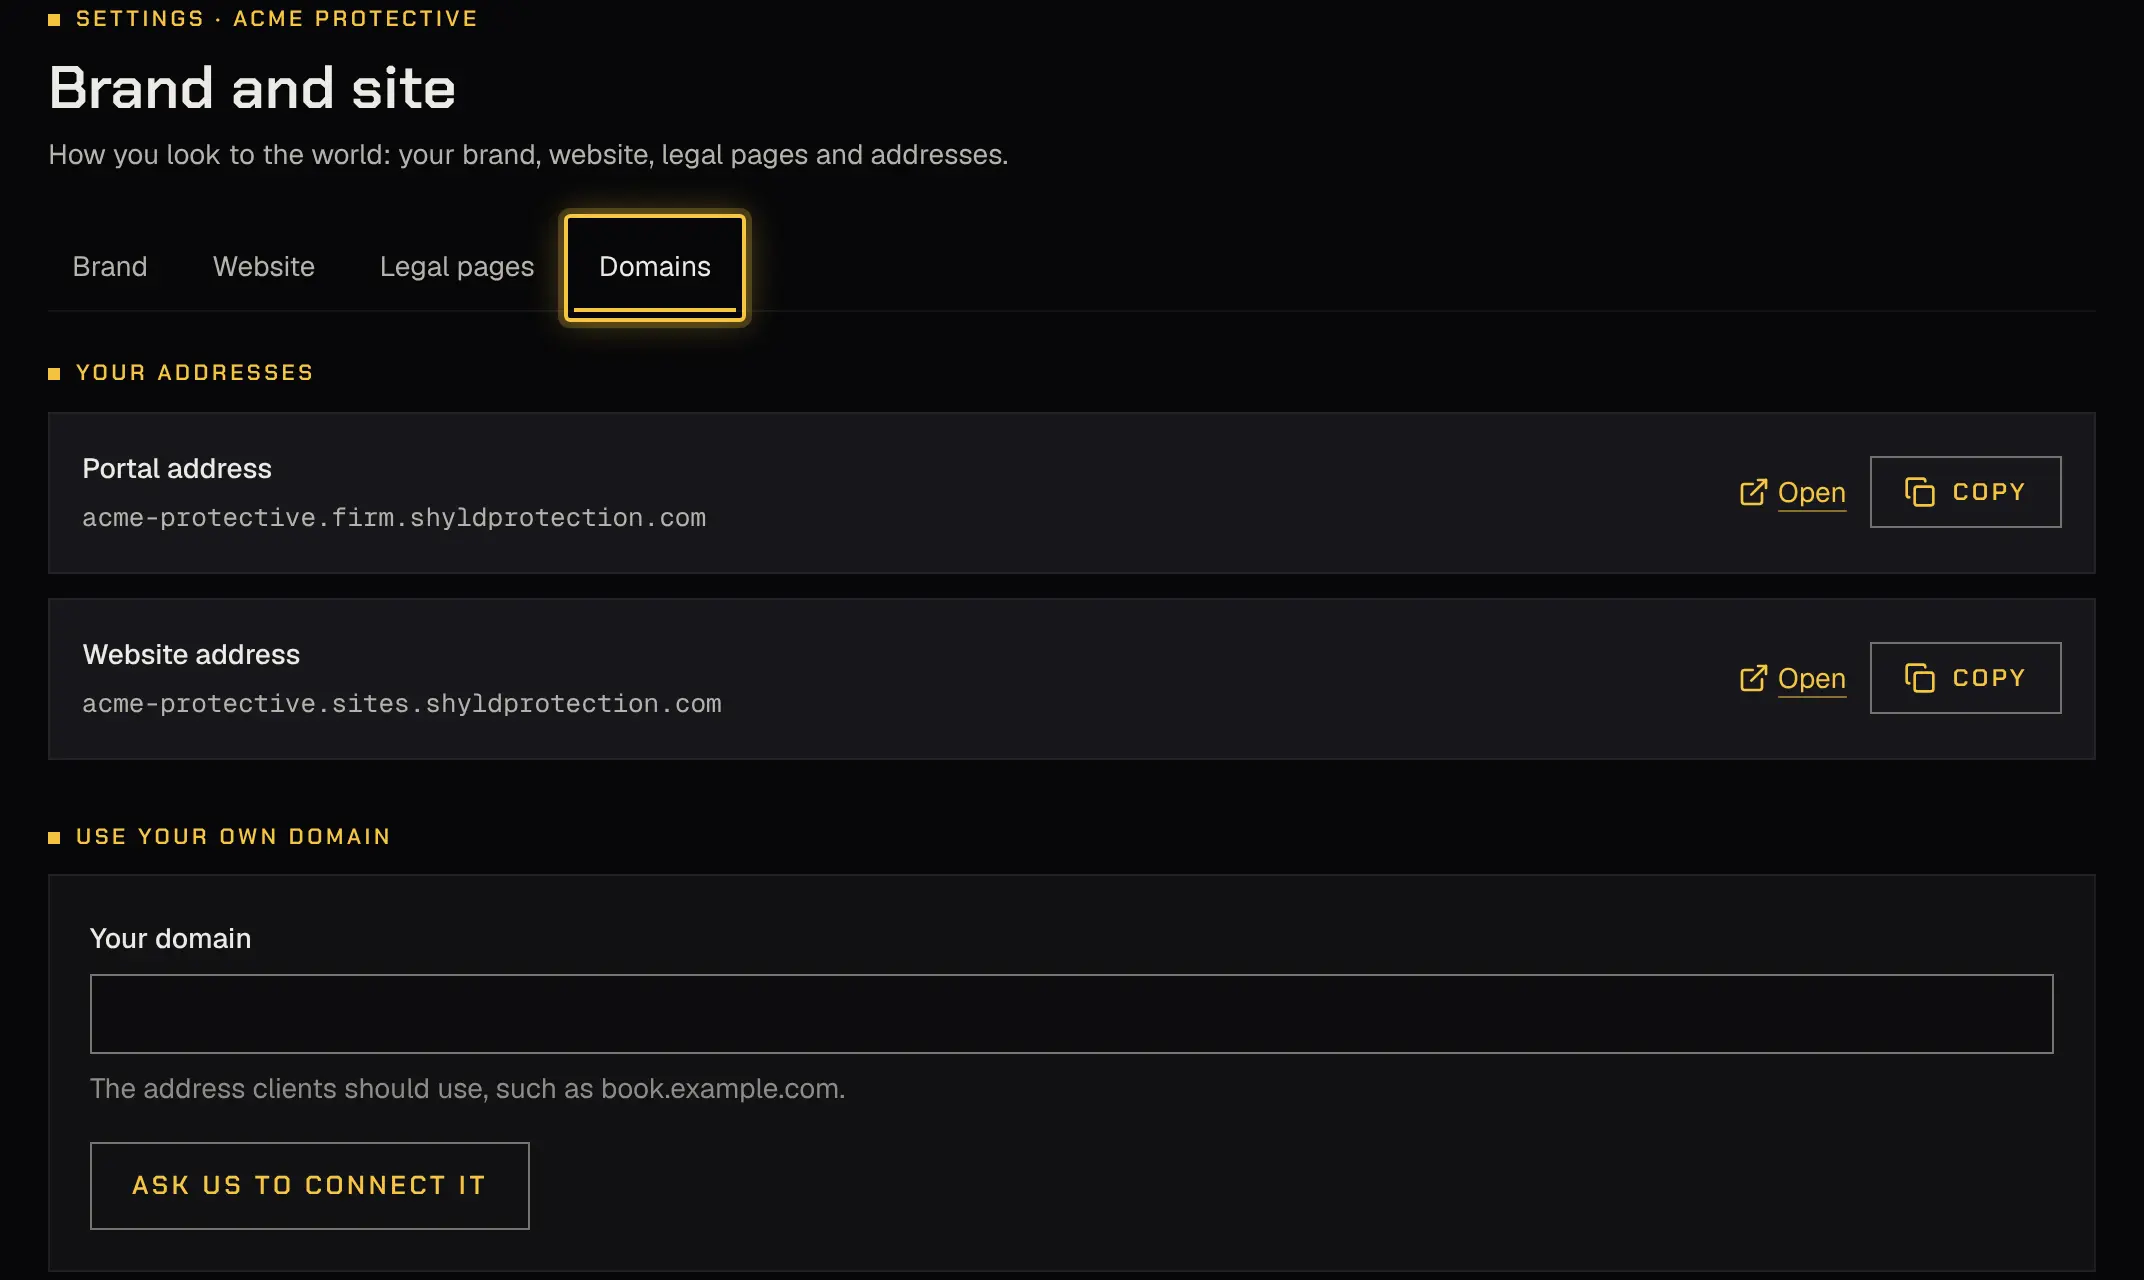
Section titled “Domains”Your addresses lists your portal address and your website address, each ready to copy.
On Professional and Enterprise, you can use your own domain, such as book.example.com. Enter it under Your domain and select Ask us to connect it. It’s connected with you by hand during onboarding: you add two DNS records at your domain’s provider, and the certificate is added for you. Withdraw the request cancels it. On Essentials, the tab says which plans include it, with a link to Compare plans.
Keeping your own website? Copy the Request form link, or the Button for your website (a ready-made “Request protection” button), onto your site. Requests arrive like any other.
Who can do what
Section titled “Who can do what”Only the owner and admins open Brand and site; everyone else sees who to ask.
| Area | Owner | Admin | Dispatcher | Viewer |
|---|---|---|---|---|
| Firm settings and team | Changes | Changes | No | No |
Powered by Shyld