First steps for the owner
Shyld has set up your firm with what you sent us, so your first session is short: add your logo, accept the terms, connect Stripe, link the bank that pays your agents, and invite your admin. This page walks you through it, then through a first booking from quote to paid.
1. Sign in for the first time
Section titled “1. Sign in for the first time”-
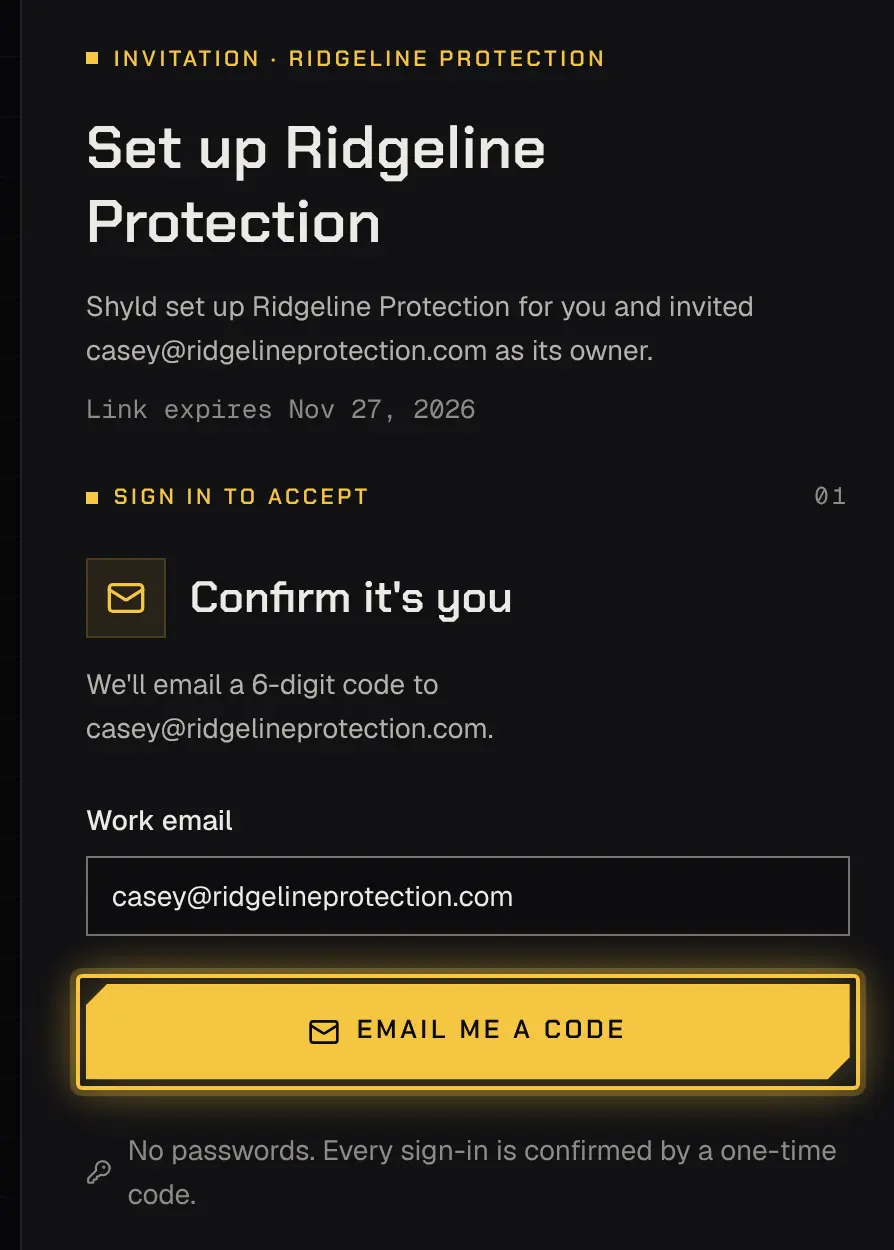
Open the invite email from Shyld and select its link. It’s addressed to you as the owner.
-
Under Confirm it’s you, select Email me a code and enter the 6-digit code from the email. If it doesn’t arrive, see Signing in.
-
If you’re asked for an authenticator app, set it up now: scan the code with the app, or copy the key into it, and enter the 6-digit code it shows.
-
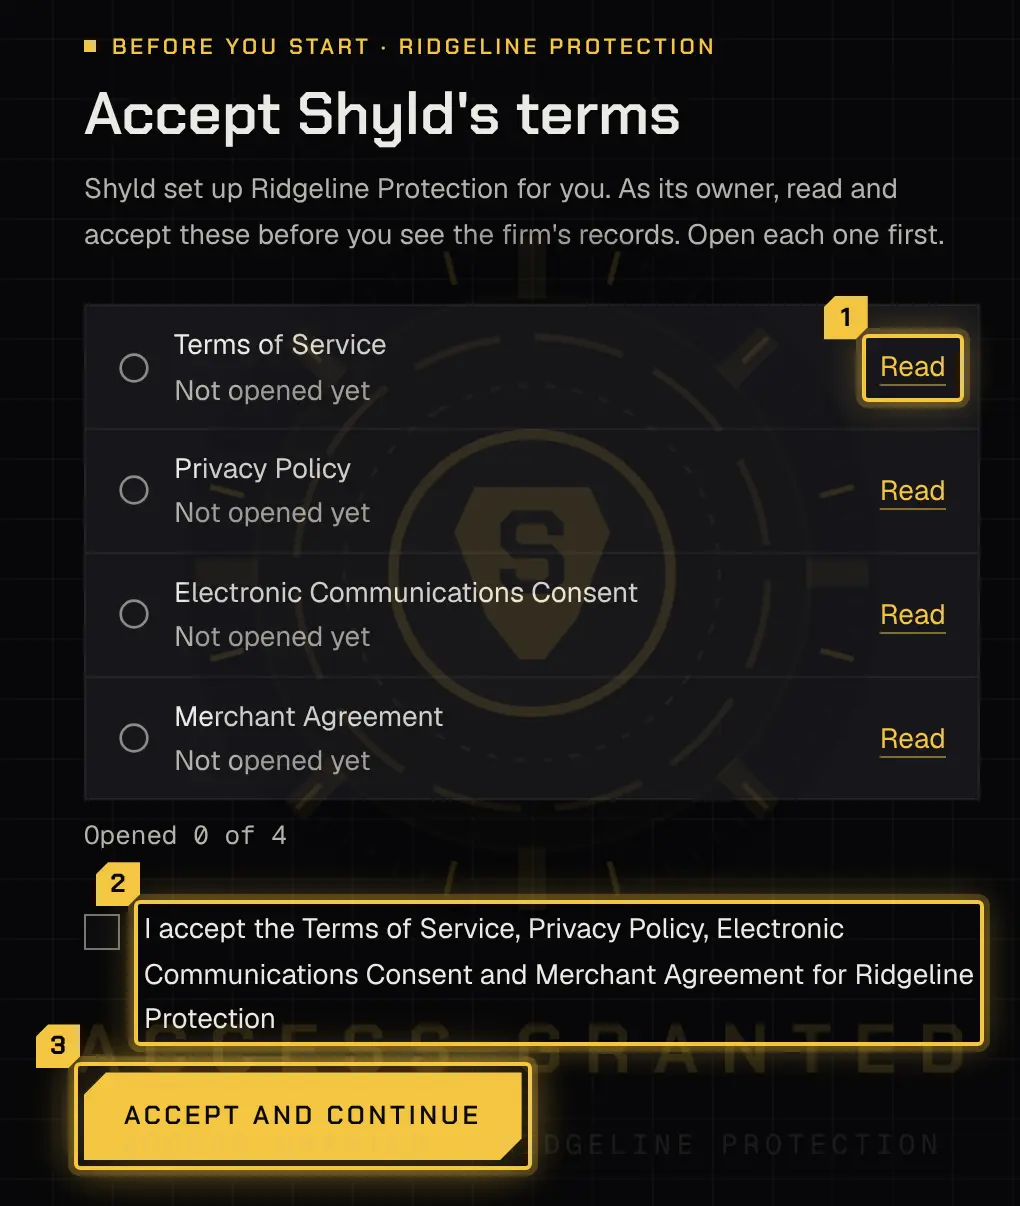
Accept the platform’s terms: open each document, tick the box and select Accept and continue. Nothing else opens until you have.
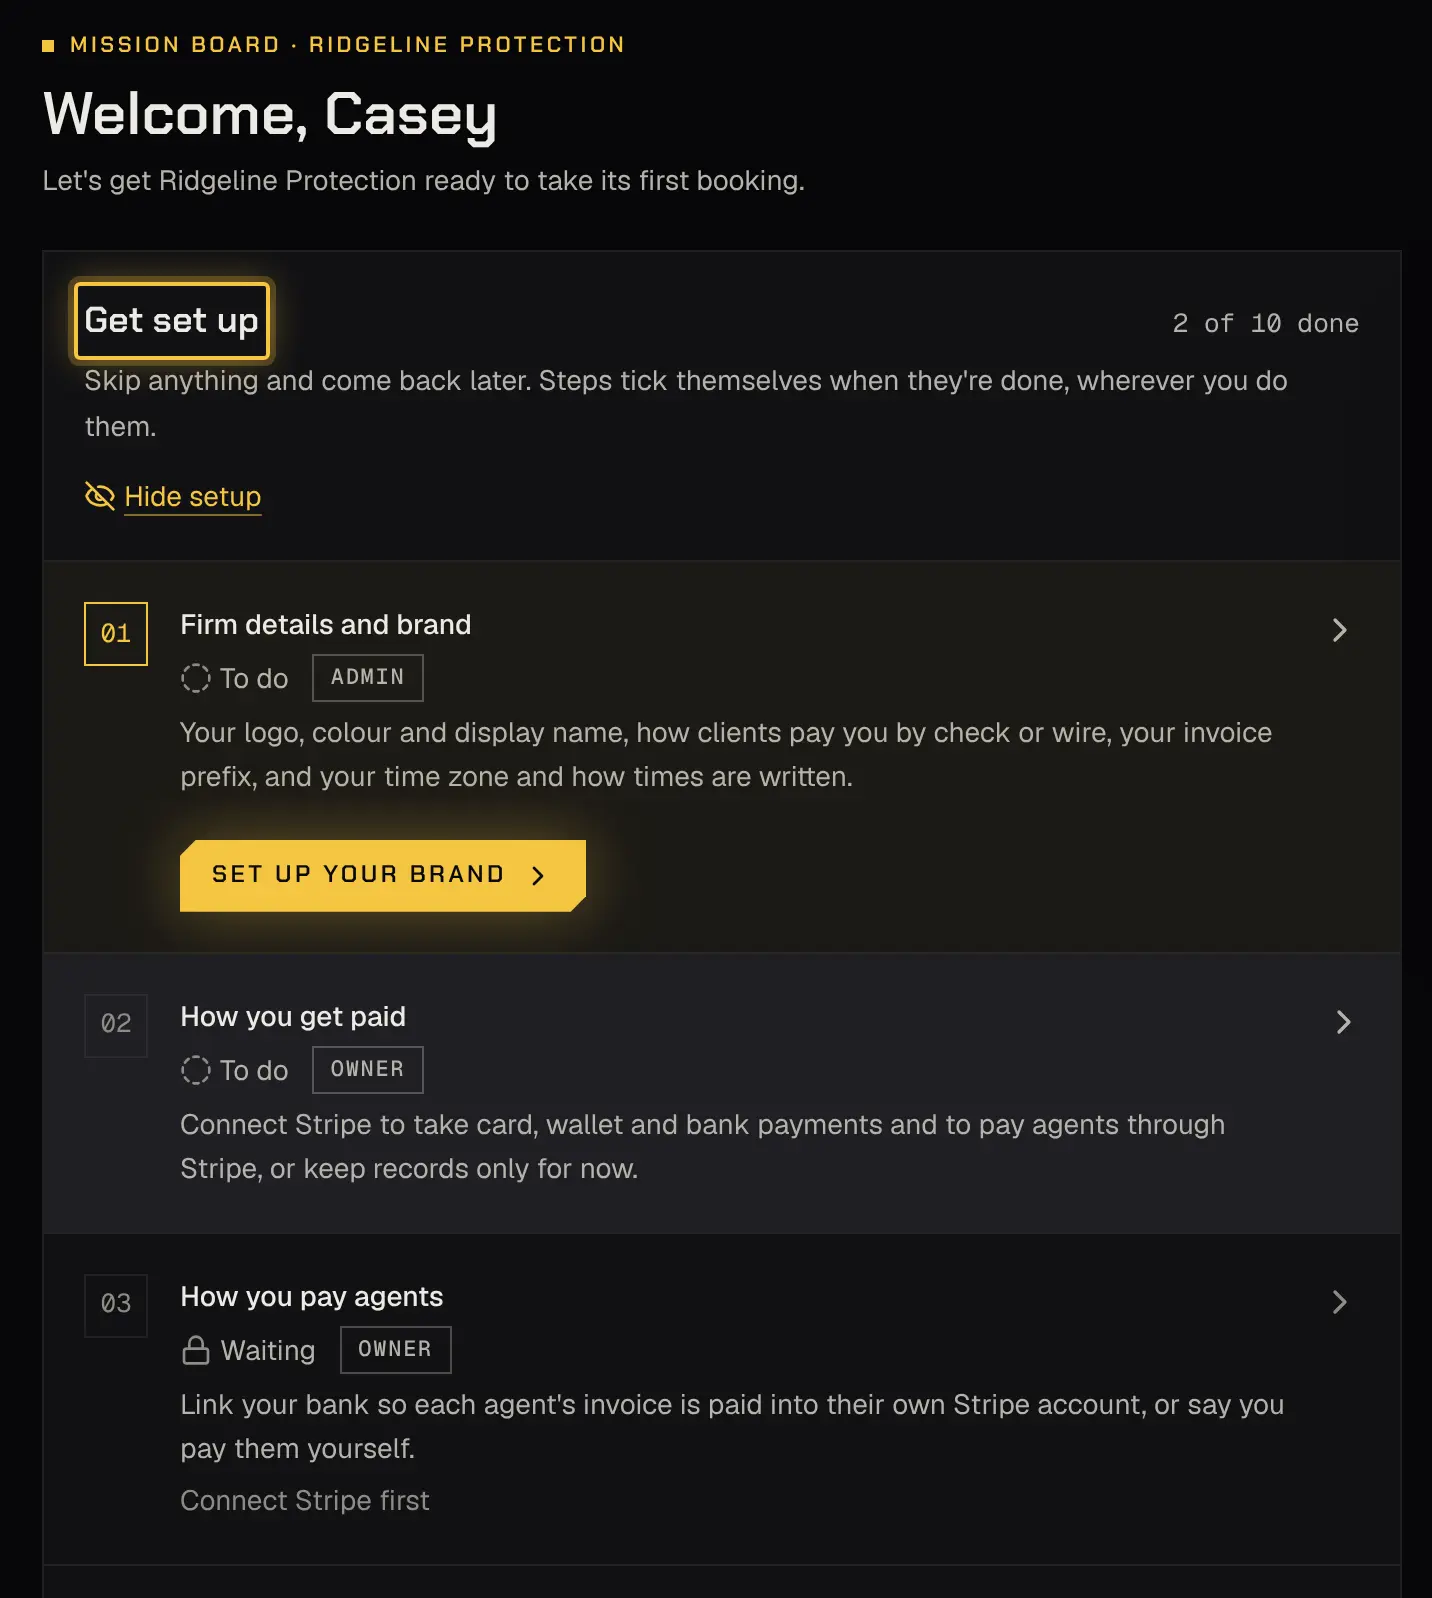
You land on Today. A short “Cleared” moment plays once, and Setup’s steps sit on Today until they’re done. More on Today: Today.
2. Check what Shyld set up
Section titled “2. Check what Shyld set up”Shyld entered what you sent before you joined. Look each one over and change anything that isn’t right:
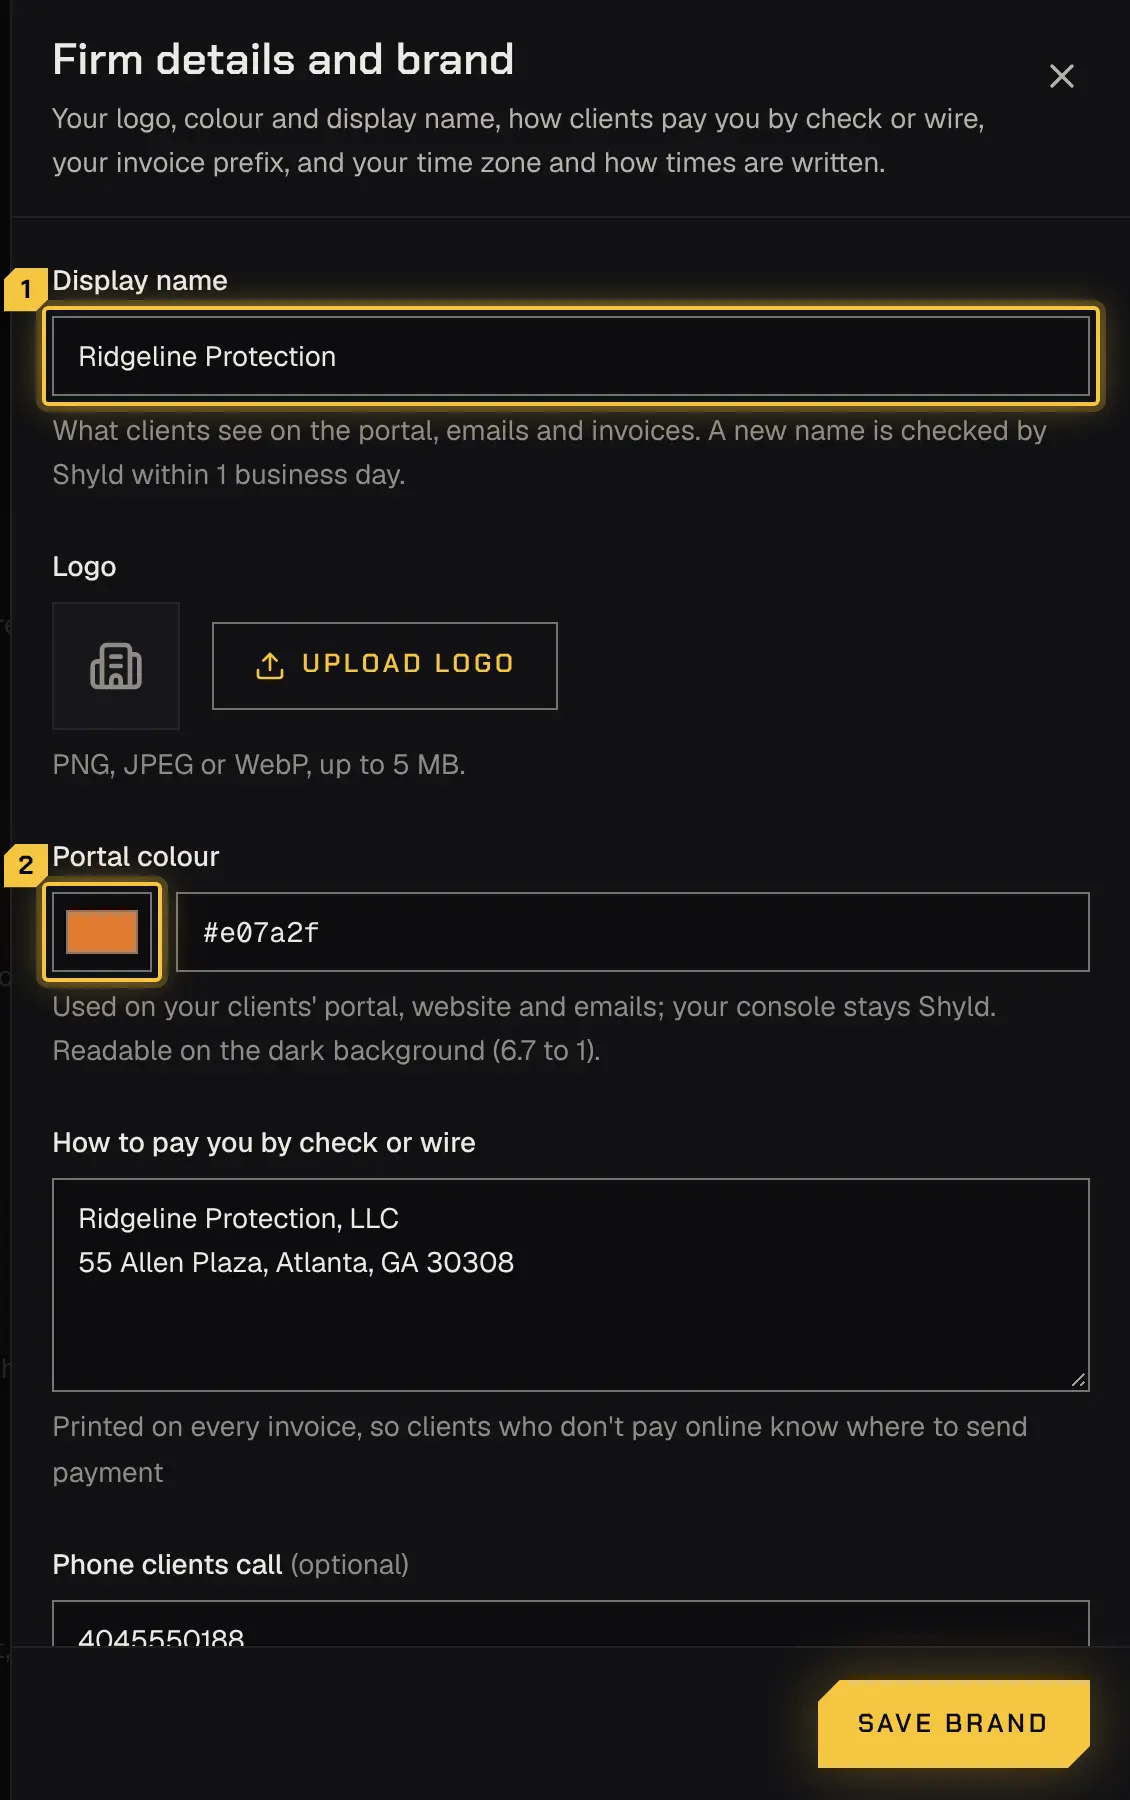
- Your name, colour, time zone and how times are written: Settings › Setup, the first step (Setup and Settings).
- The office email and phone your clients see: the same step. They’re on every page of your portal.
- Your service types, rates, minimums and cancellation rules: Settings › Service types (Service types).
- Your clients and their first contacts: Clients (Clients). No portal invites have gone out: send each one from the contact when you’re ready.
- Your plan: Settings › Plan. It’s comped until billing launches, so nothing is charged.
Your logo isn’t preset: you add it yourself in the next step.
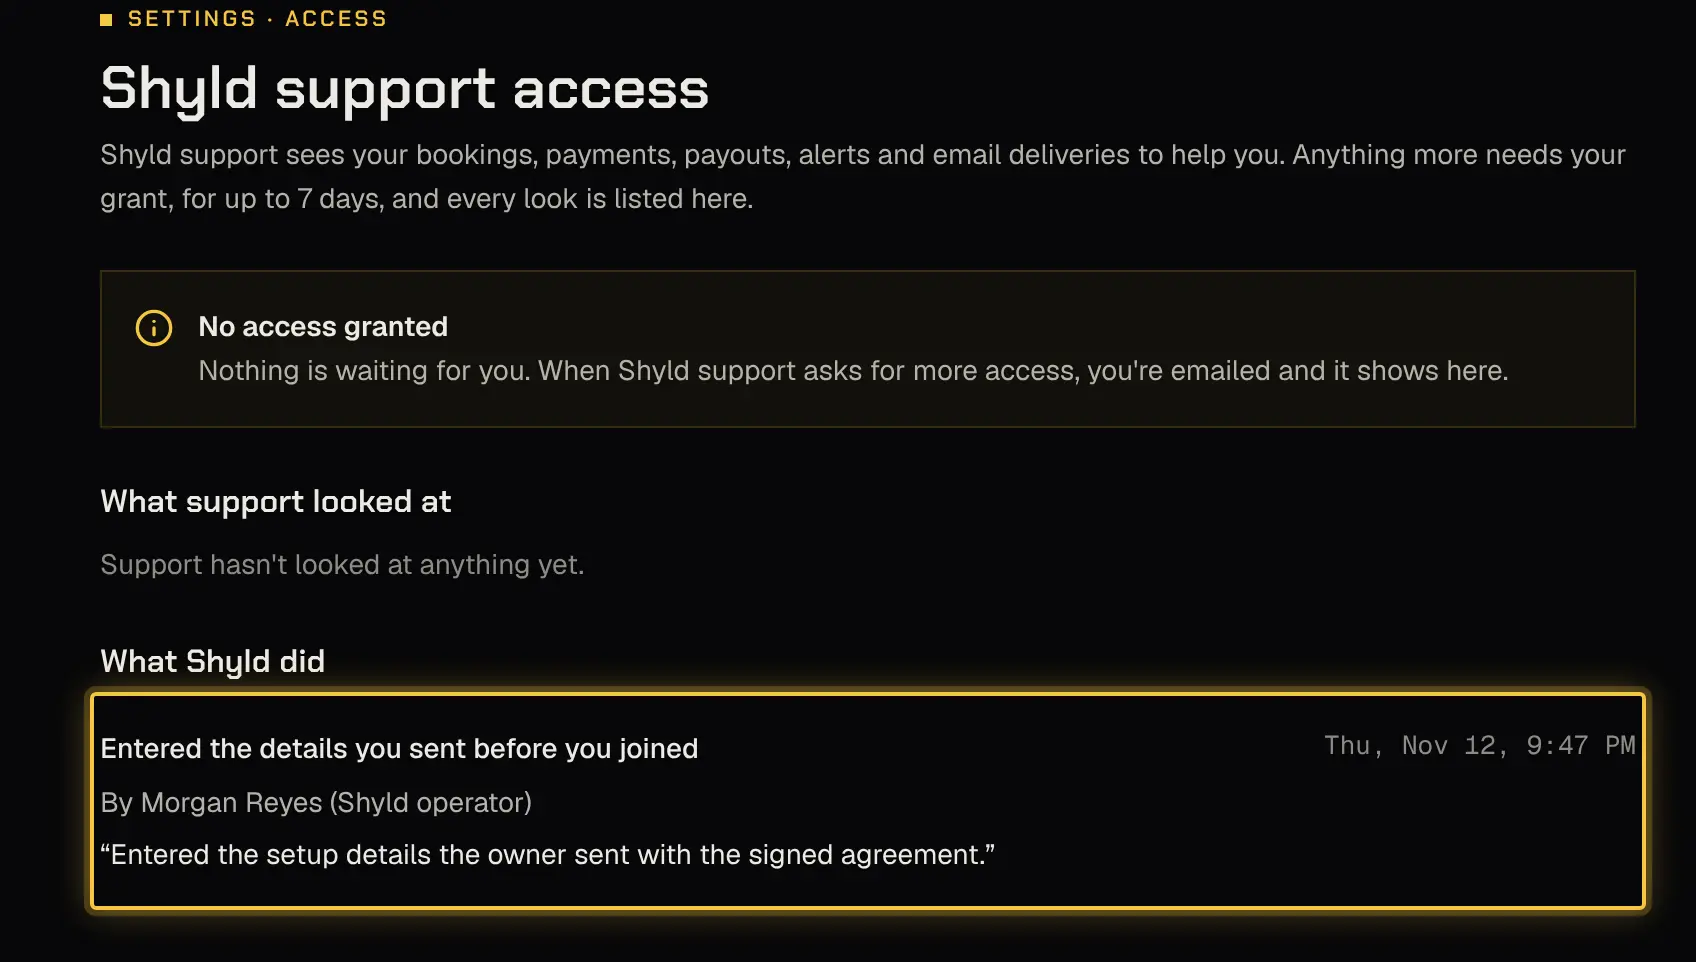
Every change Shyld made is listed in Settings › Shyld support access as “Entered the details you sent before you joined”, with the reason (Shyld support access).
3. Add your logo
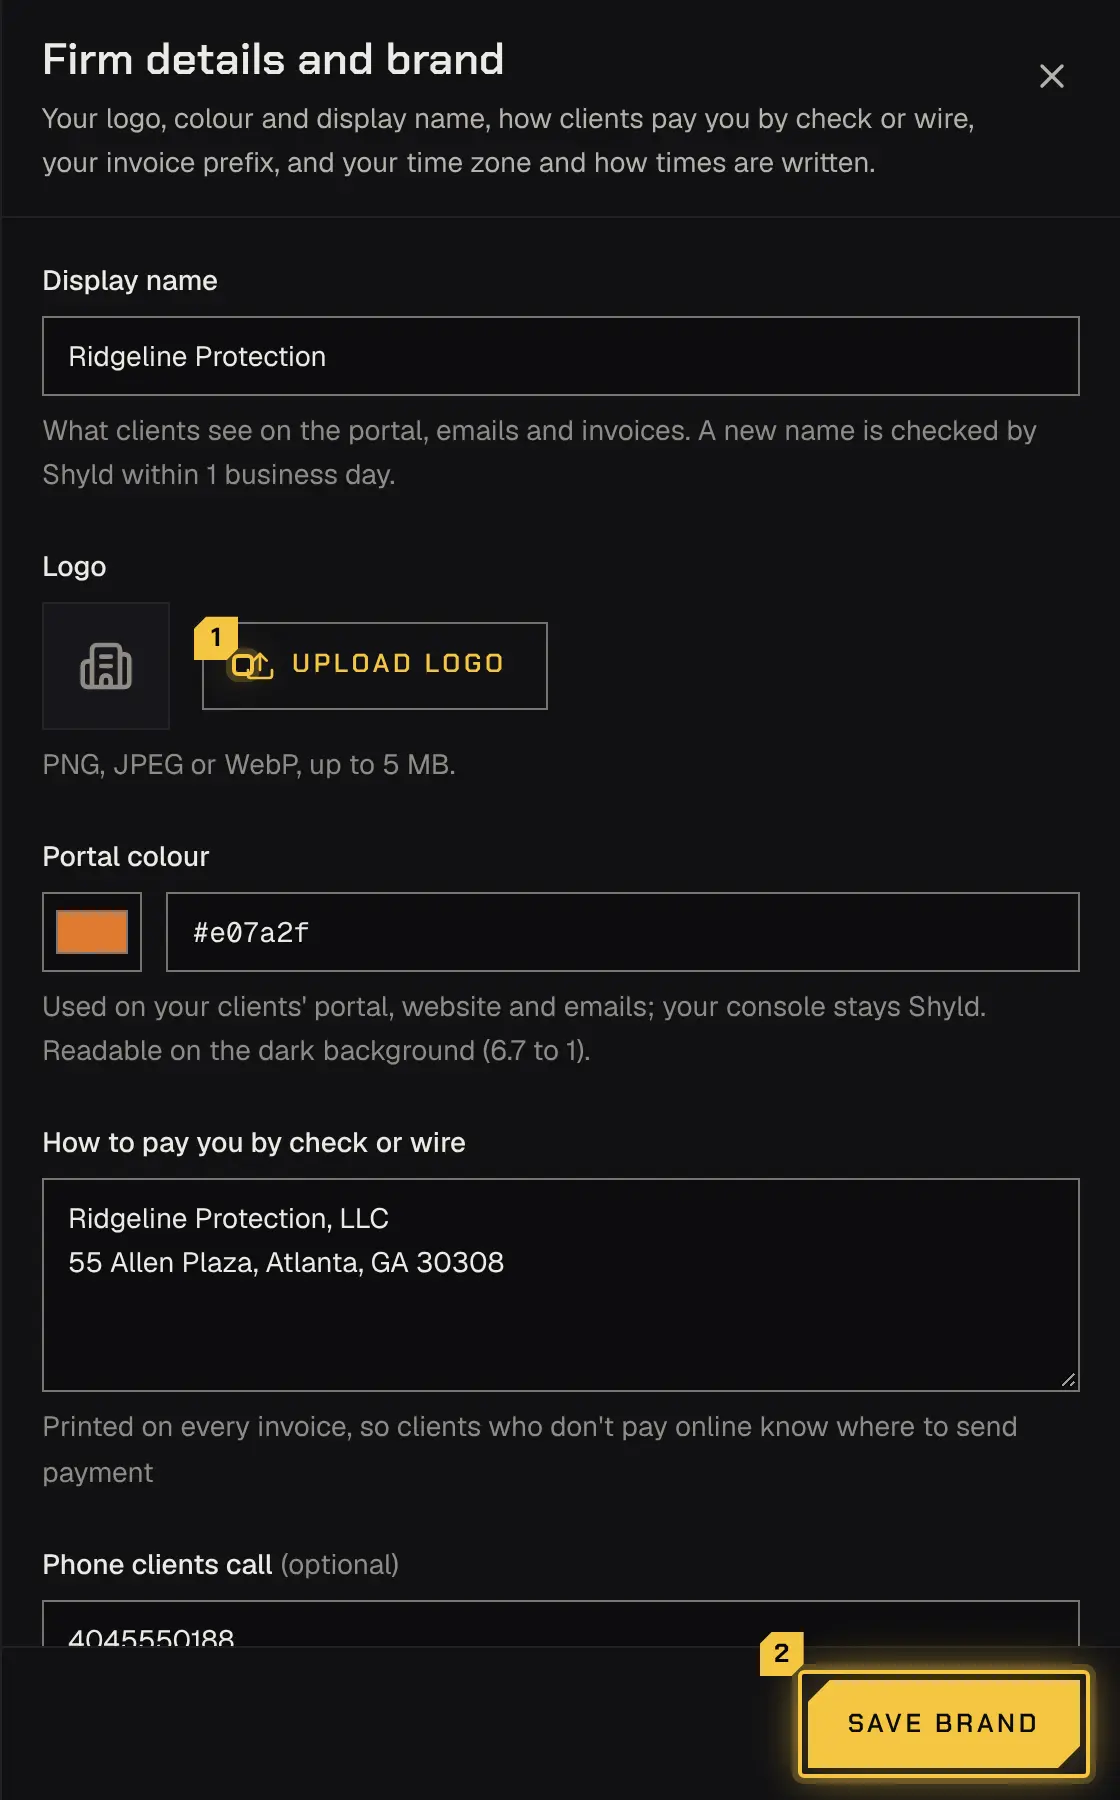
Section titled “3. Add your logo”Open Settings › Setup and select Set up your brand. Upload your logo (a PNG, JPEG or WebP), check the preview and select Save brand. Your logo appears on your portal, your emails and your invoices. More: Brand and site.
4. Accept your legal pages
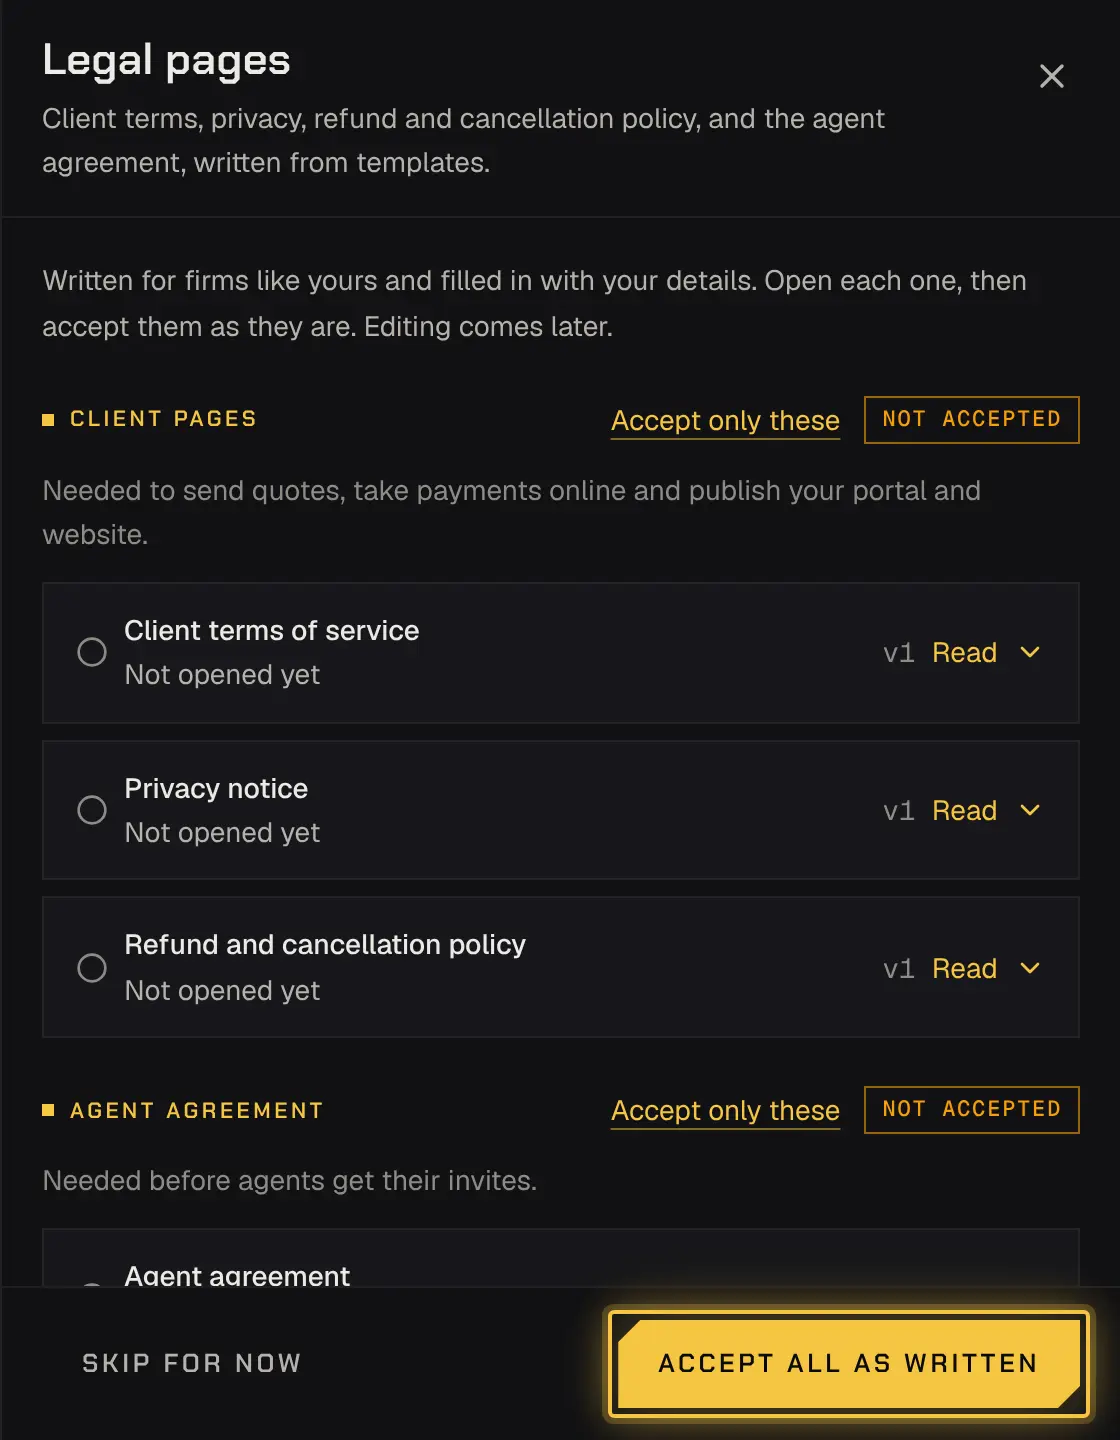
Section titled “4. Accept your legal pages”In Setup, open the legal step. Your client terms, privacy policy, refund and cancellation policy and agent agreement are written from templates: open each, change what you need, and accept them. Your clients and agents see them where they need them.
Until you accept your client pages, your website takes no requests: it says you aren’t taking requests online yet, with no form. The first time you accept them, your website is published if it’s ready (if not, Setup says what’s left). Once they’re accepted it takes requests, and it keeps taking them when a newer version comes out: Setup and Today ask you to accept the new one.
5. Connect Stripe, to take payments
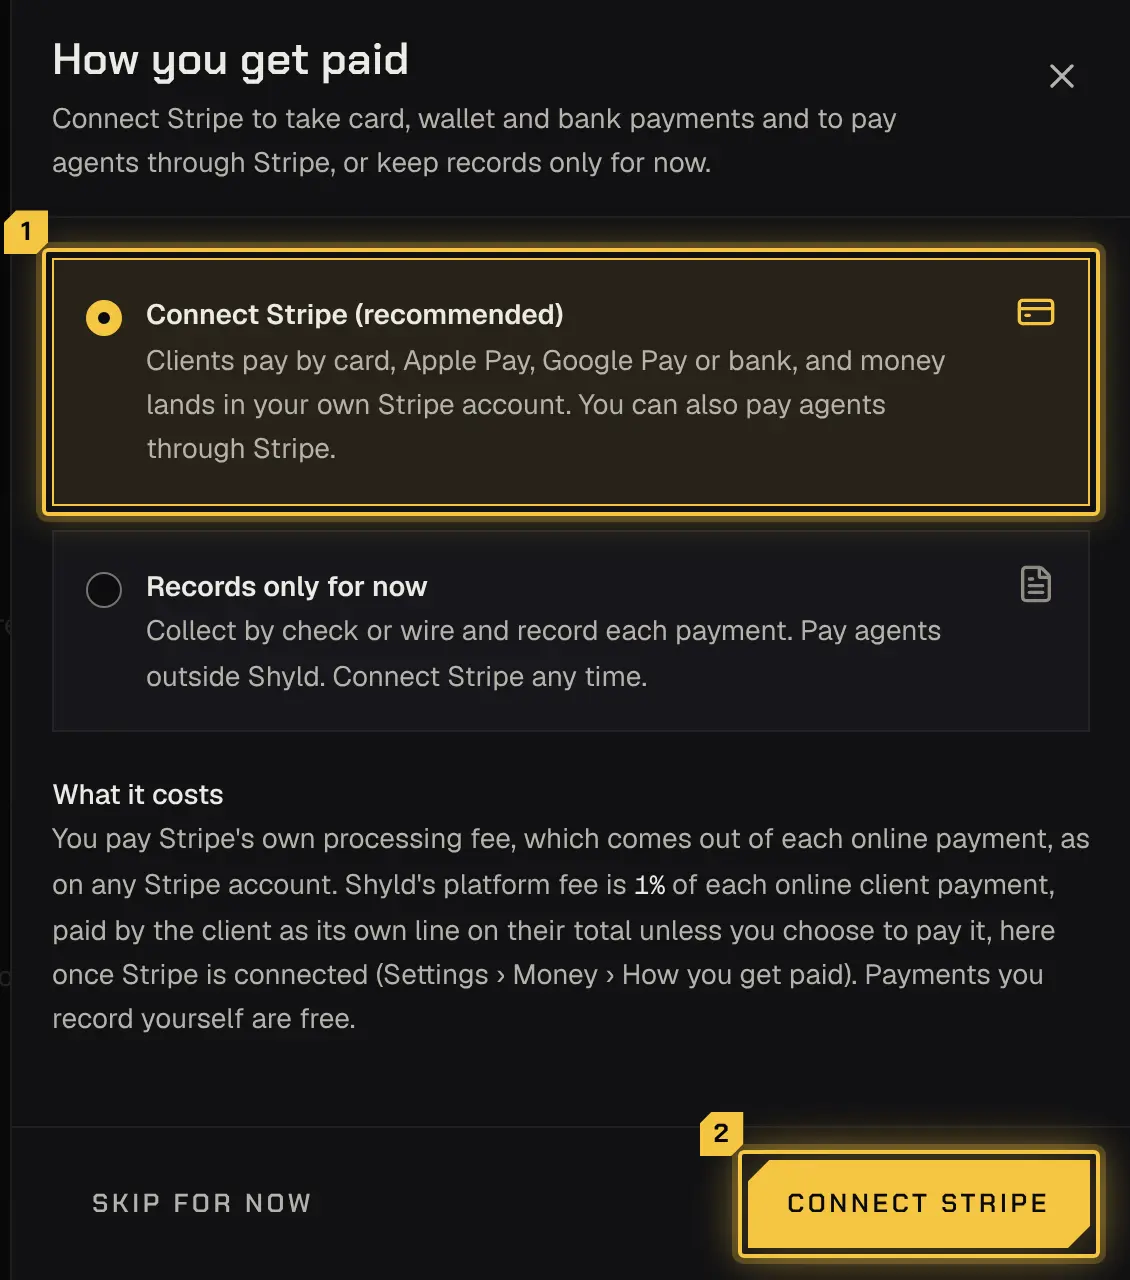
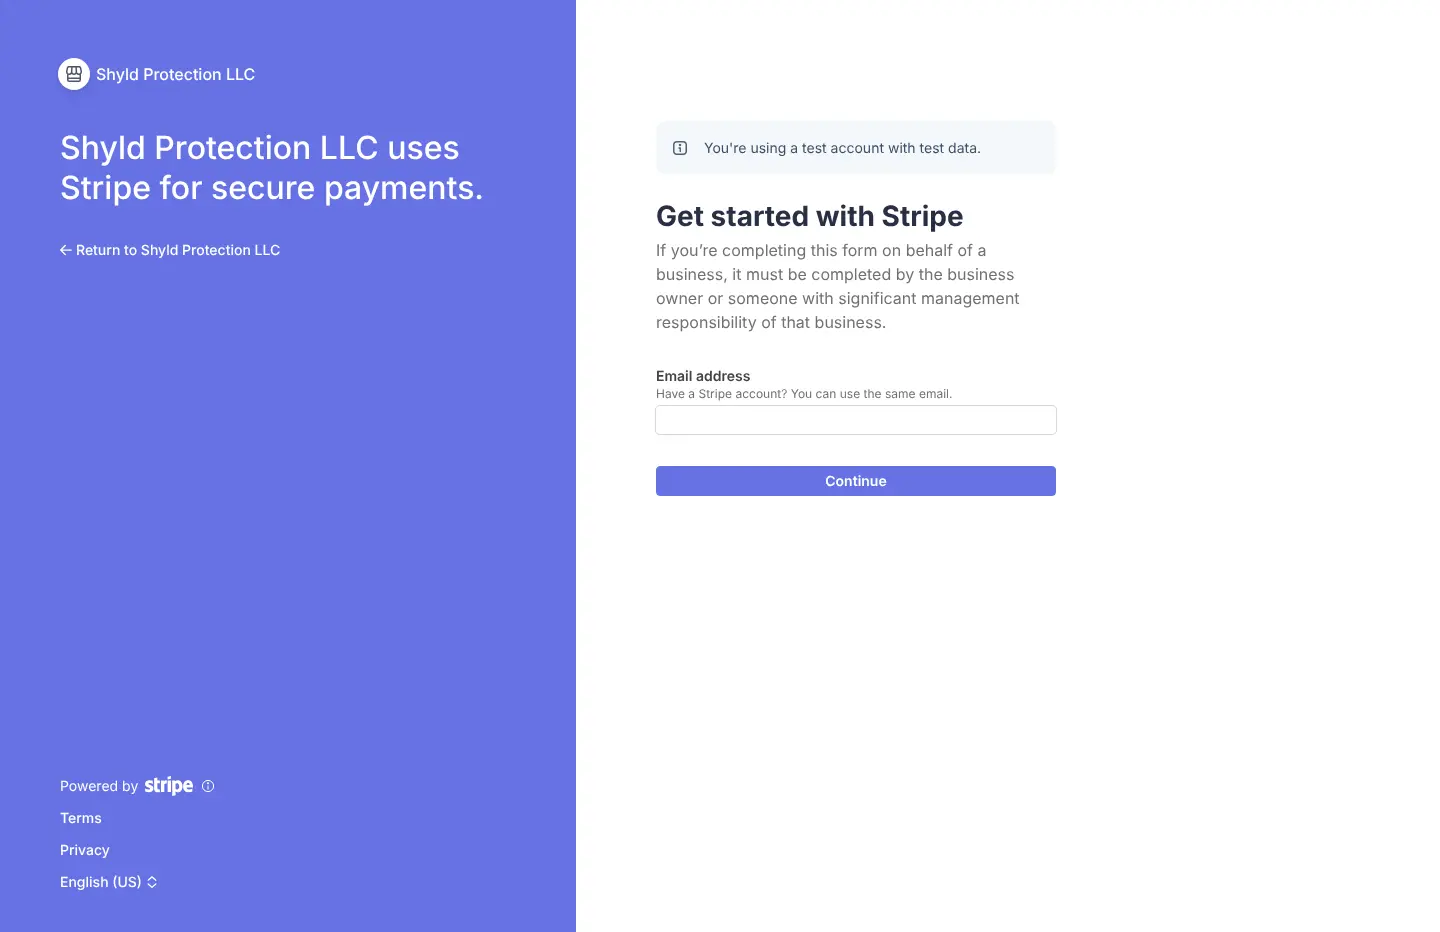
Section titled “5. Connect Stripe, to take payments”In Setup, open How you get paid and select Connect Stripe. You continue on Stripe’s own pages: Stripe asks about your firm and about you, so enter your own details. When you come back, the step shows whether Stripe is ready, checking your details (usually 1 to 3 business days), or needs more information. Until it’s ready, you can keep records only. Online payments carry a 1% platform fee. Your clients pay it as its own line on their total, unless you choose to pay it yourself under Platform fee on the same step, once Stripe is connected. Payments you record yourself carry none. See The platform fee. More: Money settings.
Stripe’s own pages open in a new tab and start with your email. They name the platform, Shyld Protection LLC, because it takes payments for you through Stripe; your account and the money are your firm’s.
6. Link the bank that pays your team
Section titled “6. Link the bank that pays your team”In Setup, open How you pay agents. Choose how they’re paid (through Stripe, by you outside the platform, or as your own employees). To pay through Stripe, link your bank: a business or a personal account, verified through your bank’s login. Then read and accept the authorisation to pay their invoices from it.
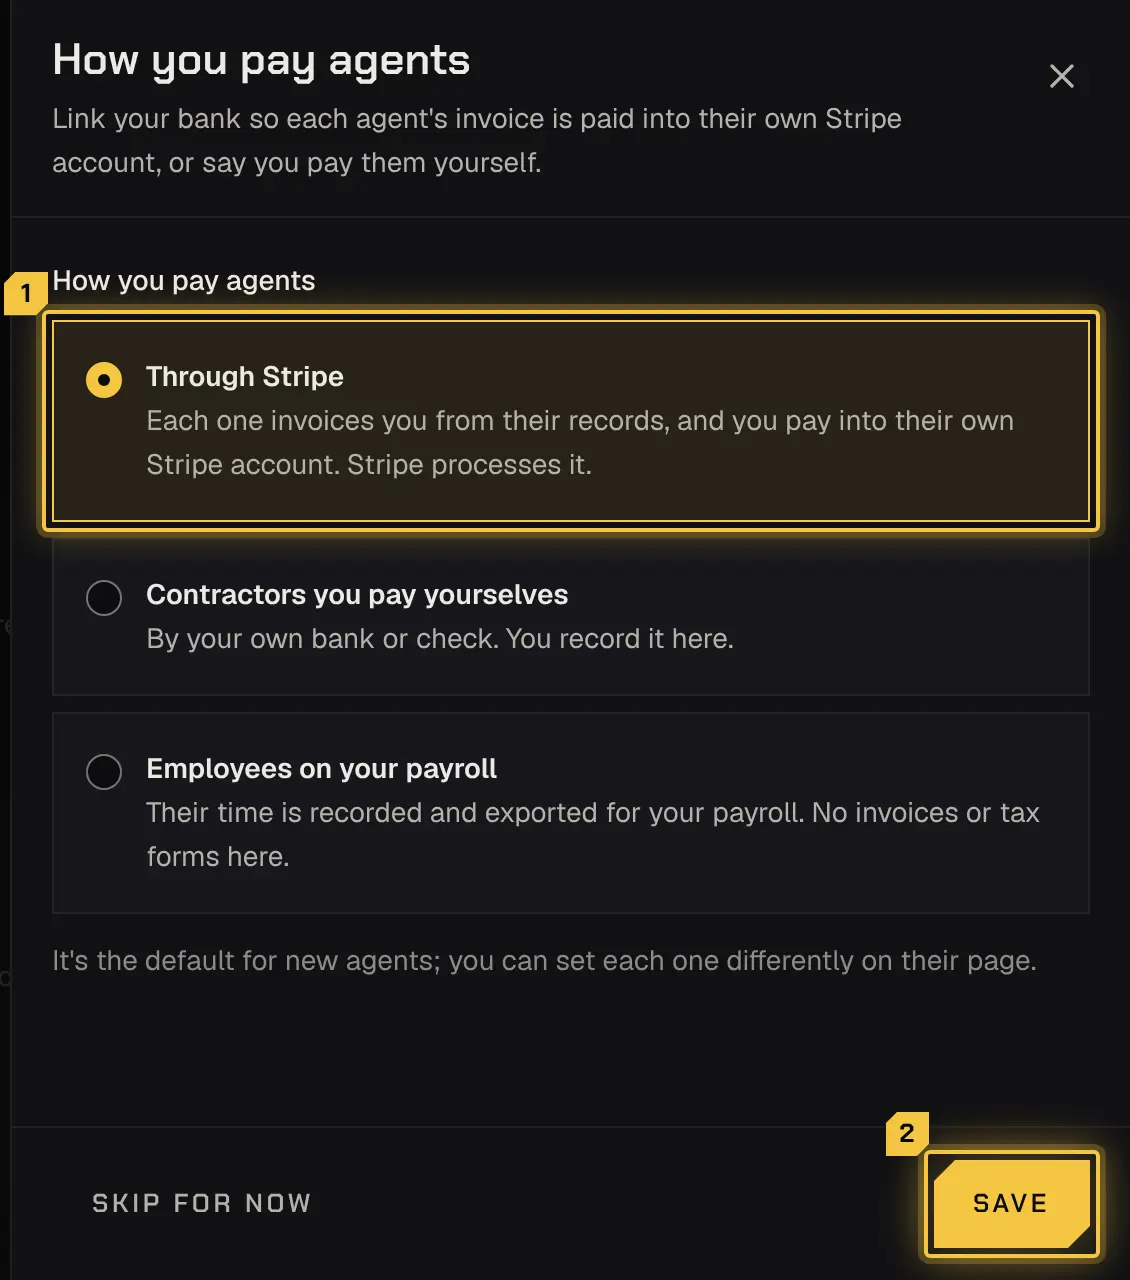
Your agents invoice your firm, and a payout run pays each invoice from your bank into their own Stripe account. You set when runs happen in Settings › Money › Paying agents. More: Paying your team.
7. Invite your admin
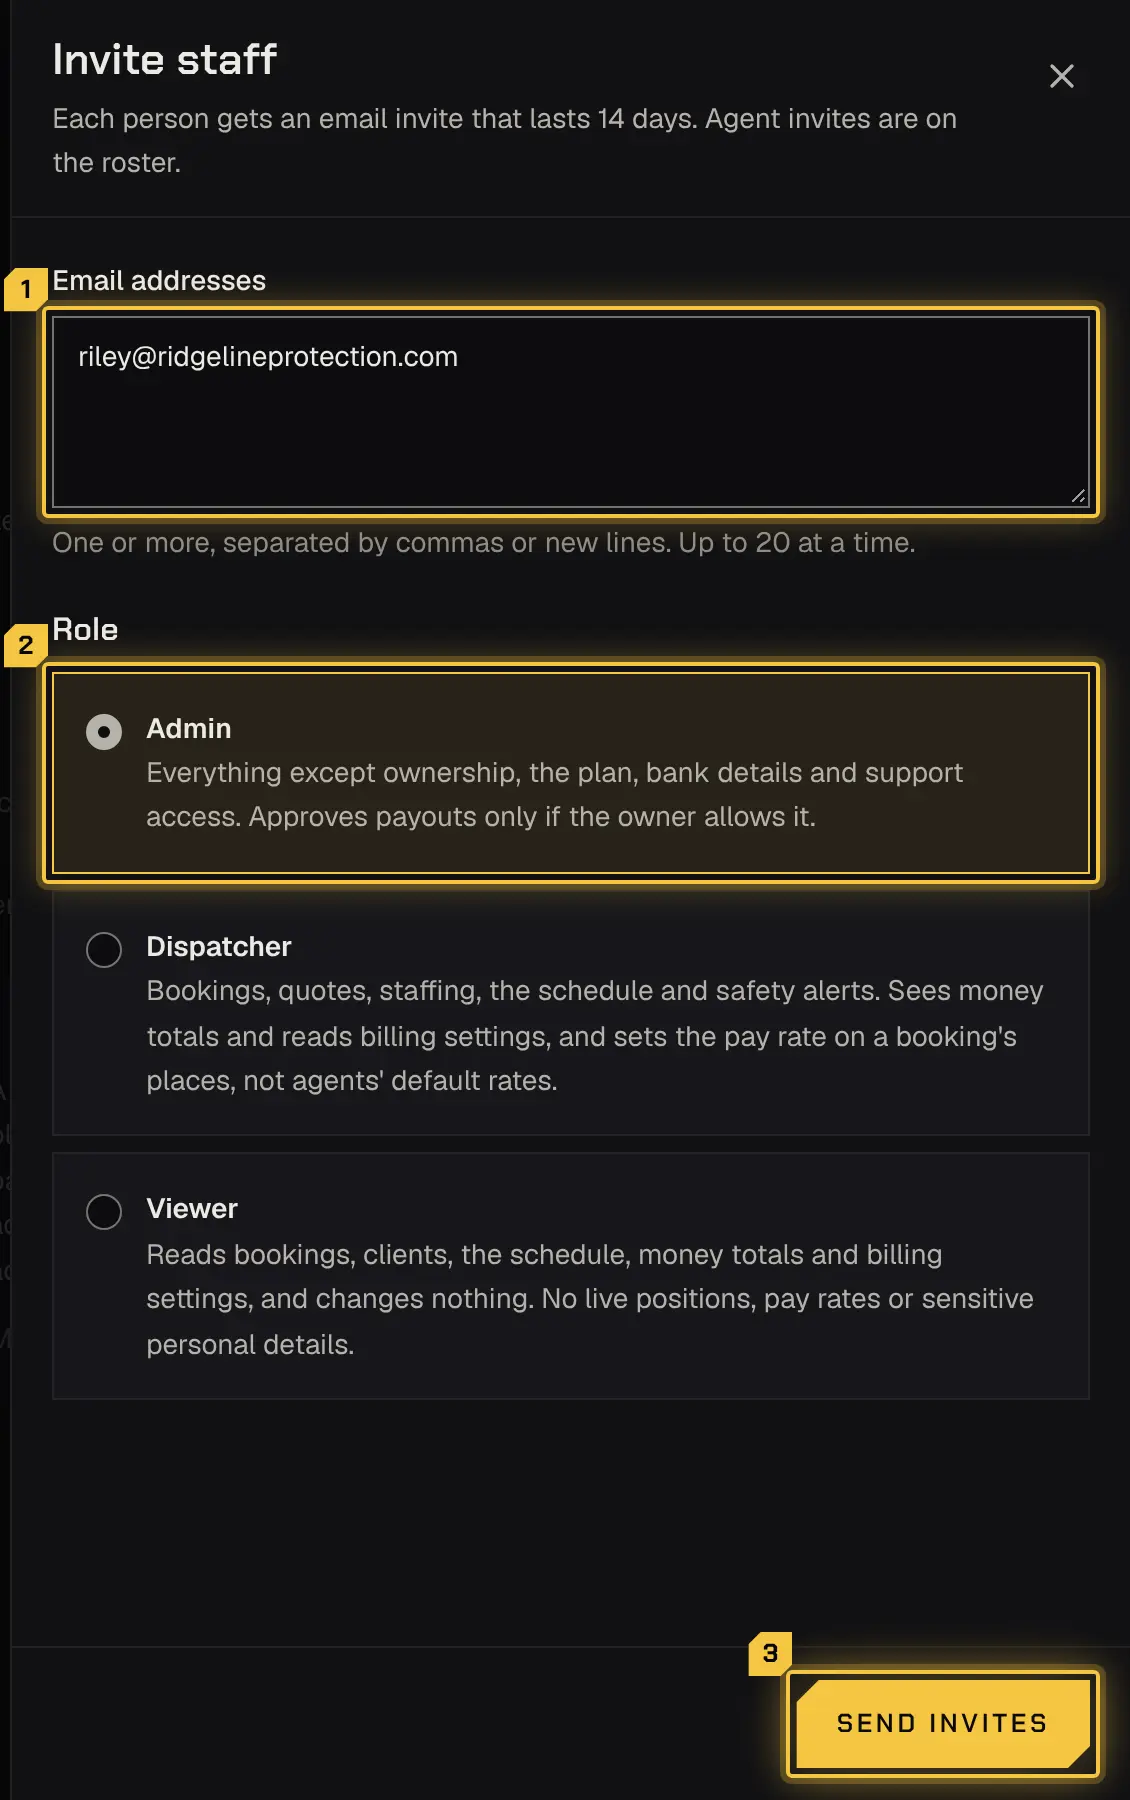
Section titled “7. Invite your admin”Open Settings › Team and roles and select Invite staff. Enter their email address, choose Admin and select Send invites. They sign in with a code from the email and, if you require one, set up an authenticator app. An admin can do almost everything you can; what stays yours is in Team and roles. Your admin’s own first steps: First steps for an admin.
8. Your first booking, from quote to paid
Section titled “8. Your first booking, from quote to paid”Each step links the page that covers it in full.
-
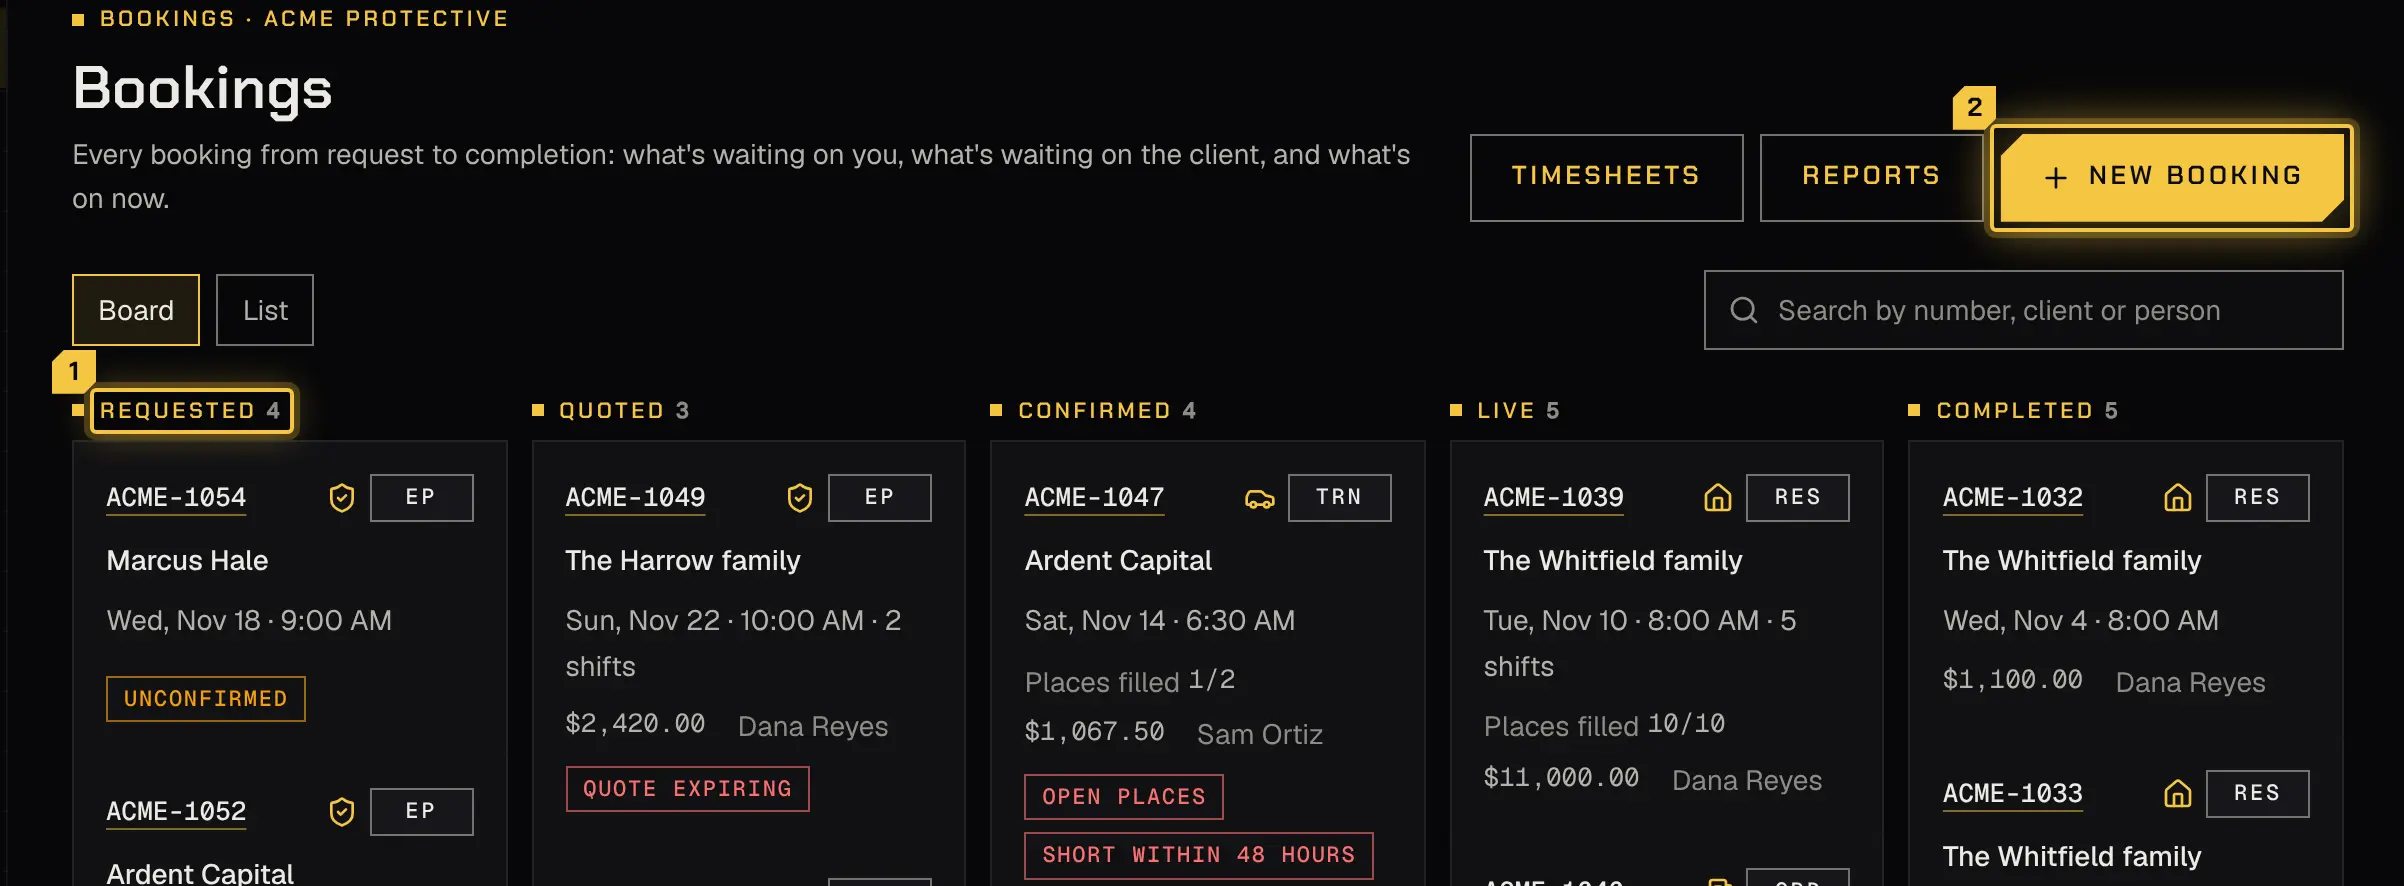
A request comes in, from your portal or your website, or you start one yourself with New booking (Bookings).
-
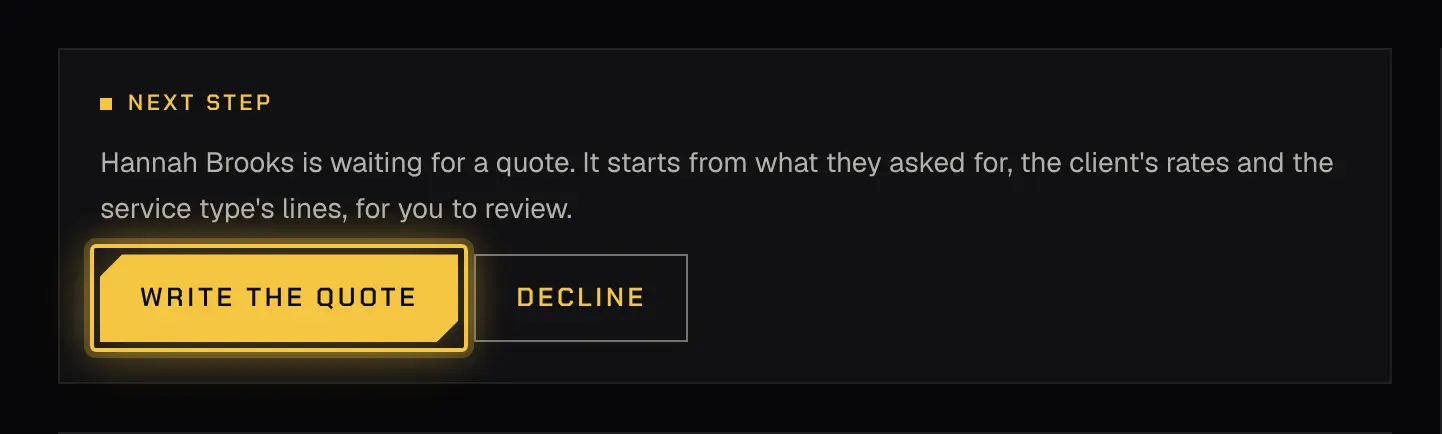
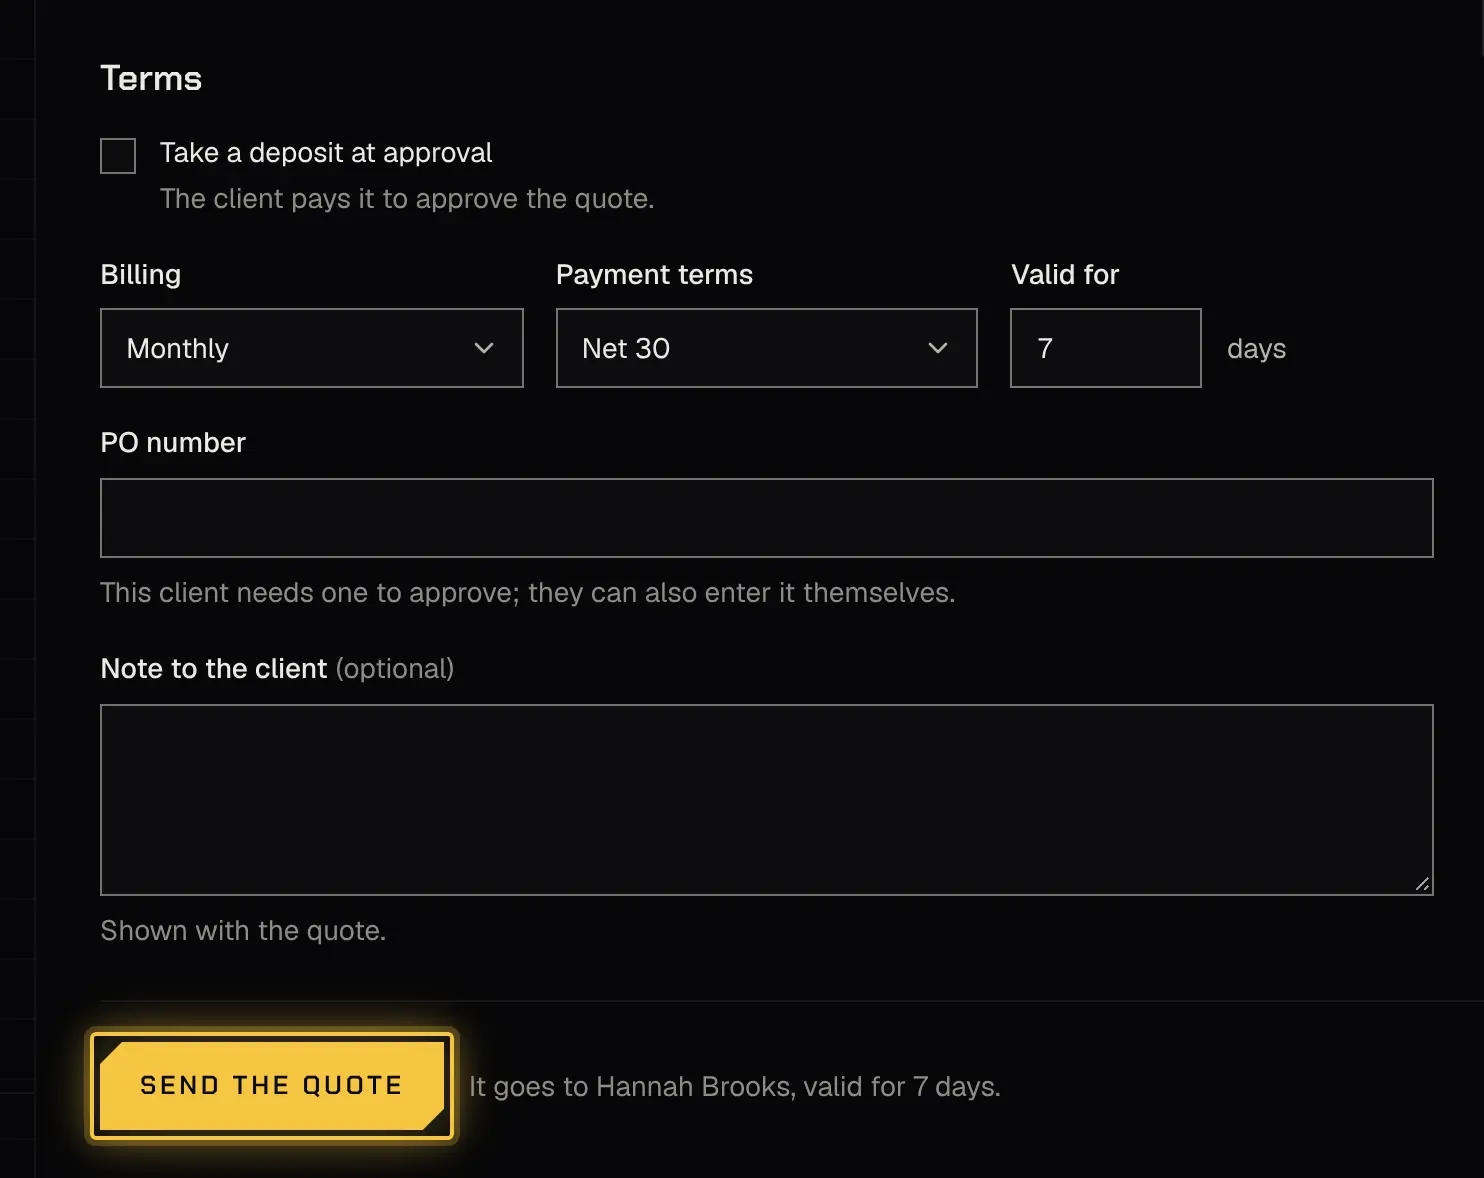
Write the quote from the request and send it (Quotes).
-
The client approves it, paying the deposit if you asked for one. The booking is confirmed.
-
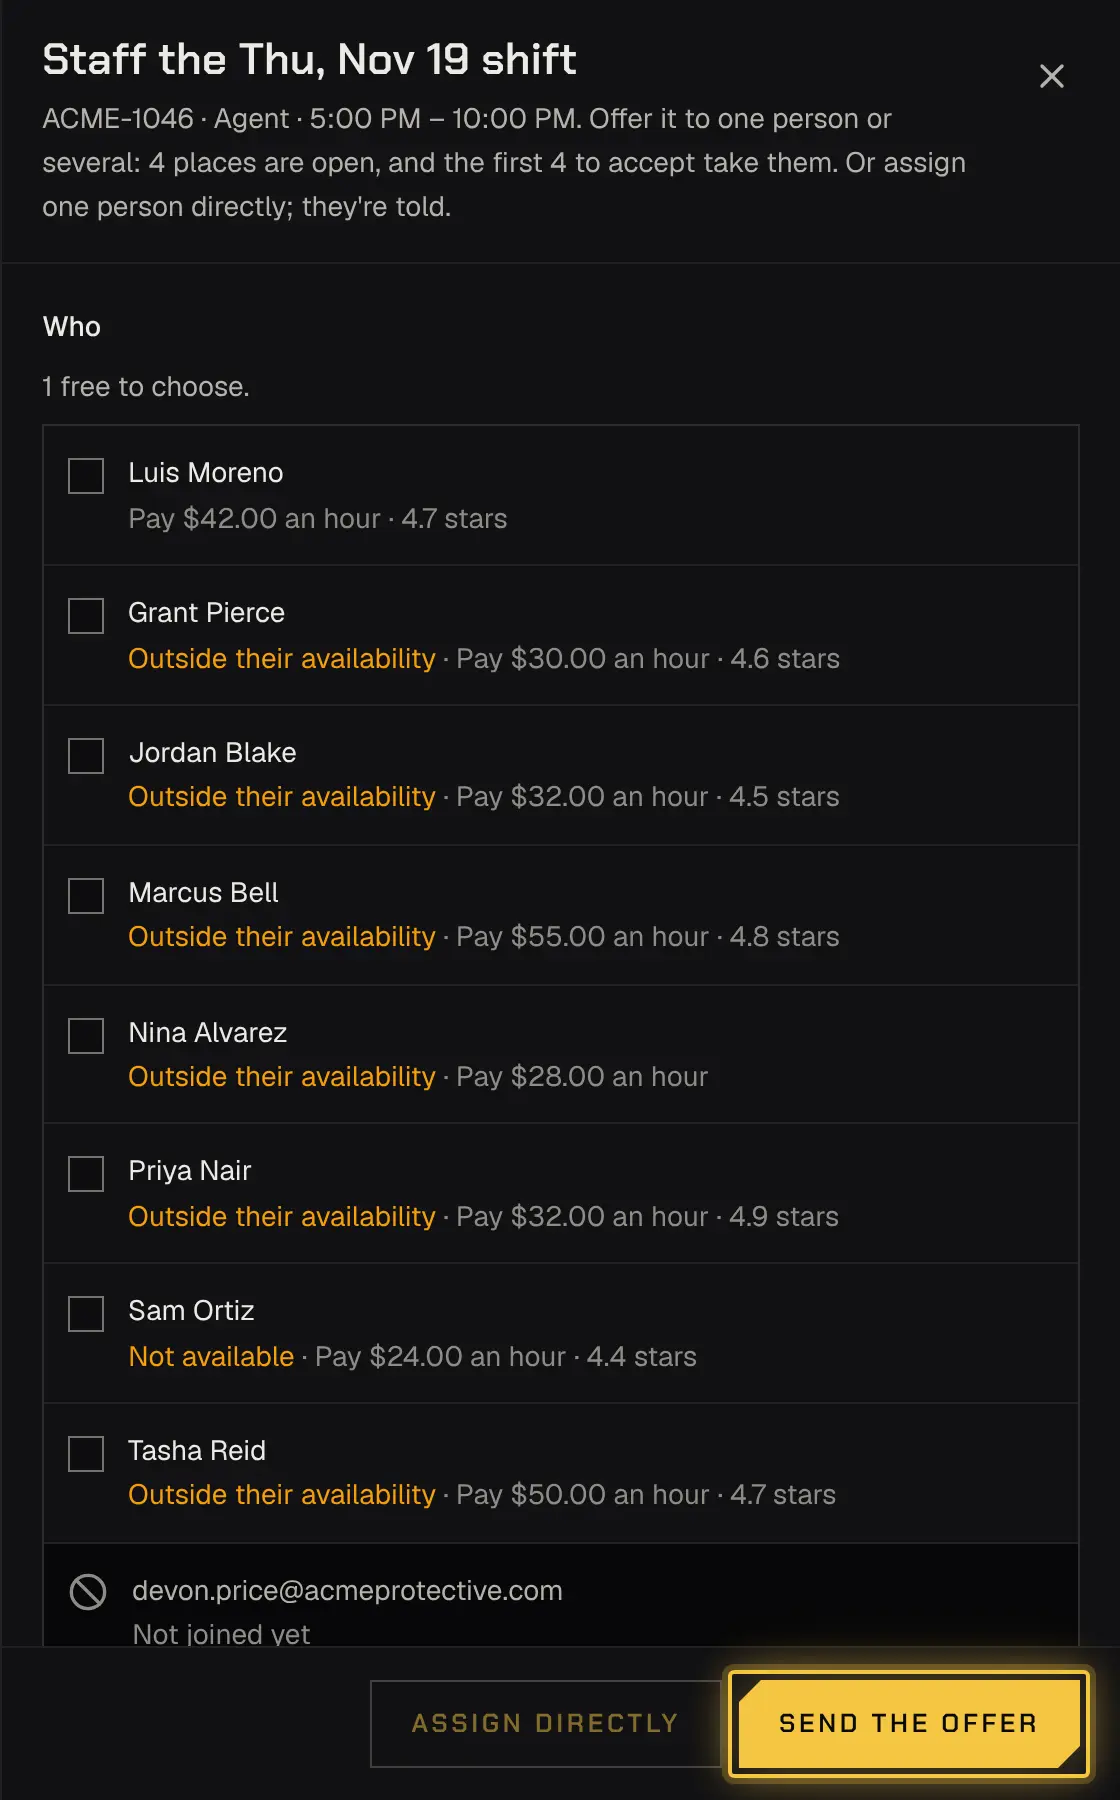
Staff it: offer the places to your agents, or assign them, and watch the offers get accepted (Schedule).
-
The shift runs: your team clocks in on site, and you watch it live on Overwatch (Overwatch).

-
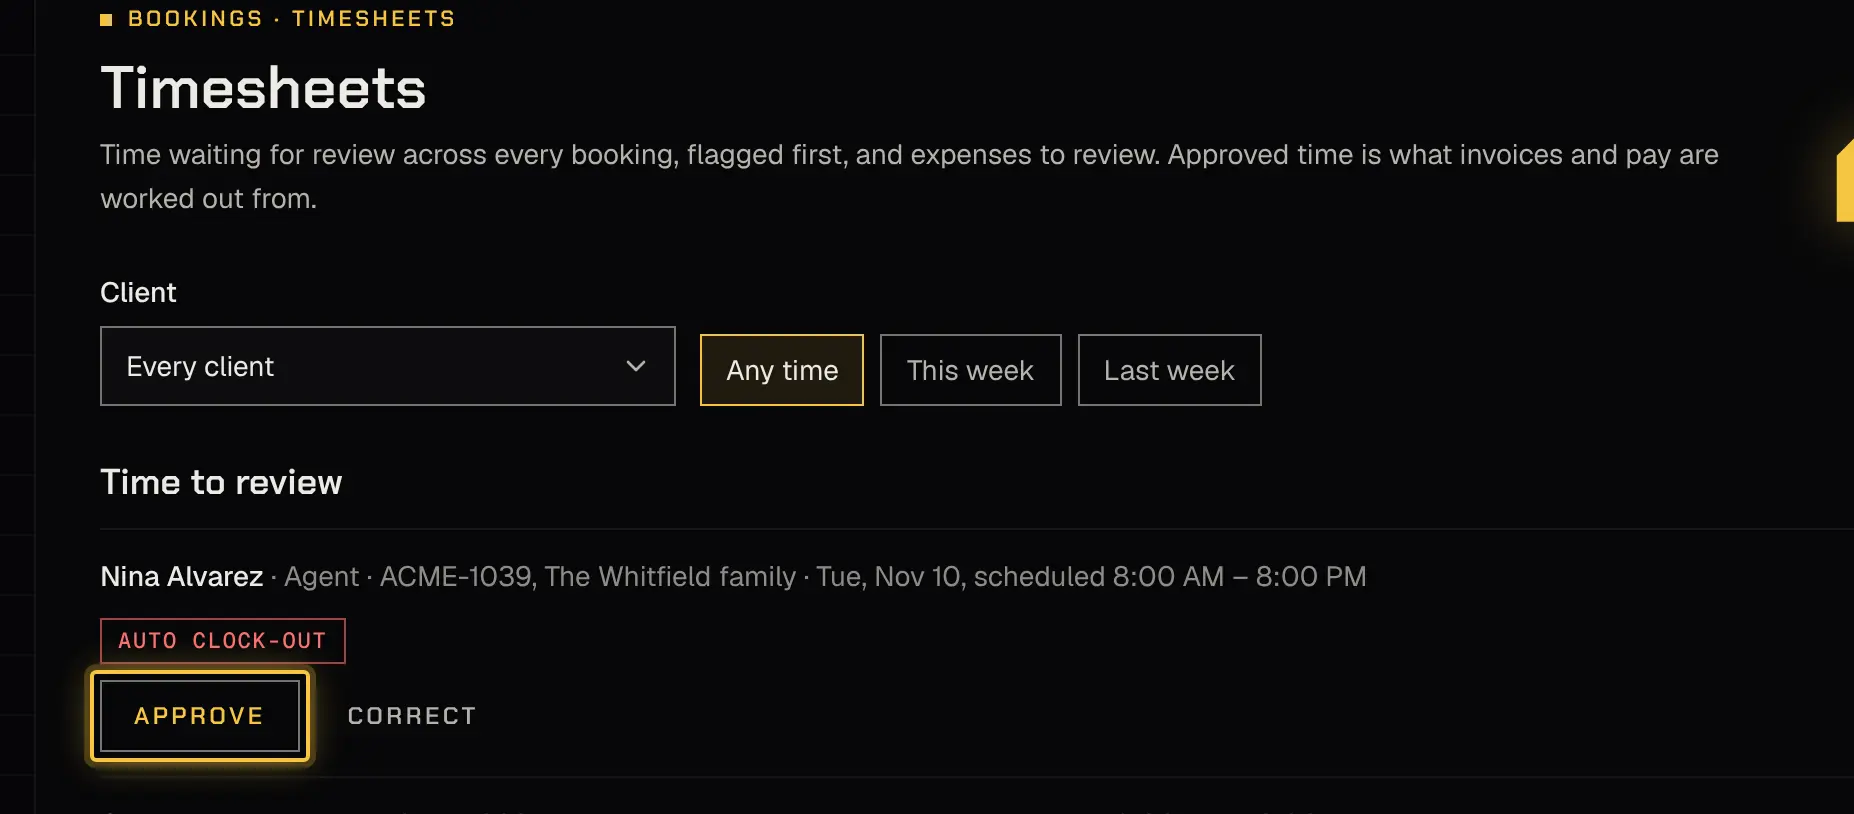
Approve the time once it’s worked (Timesheets and expenses).
-
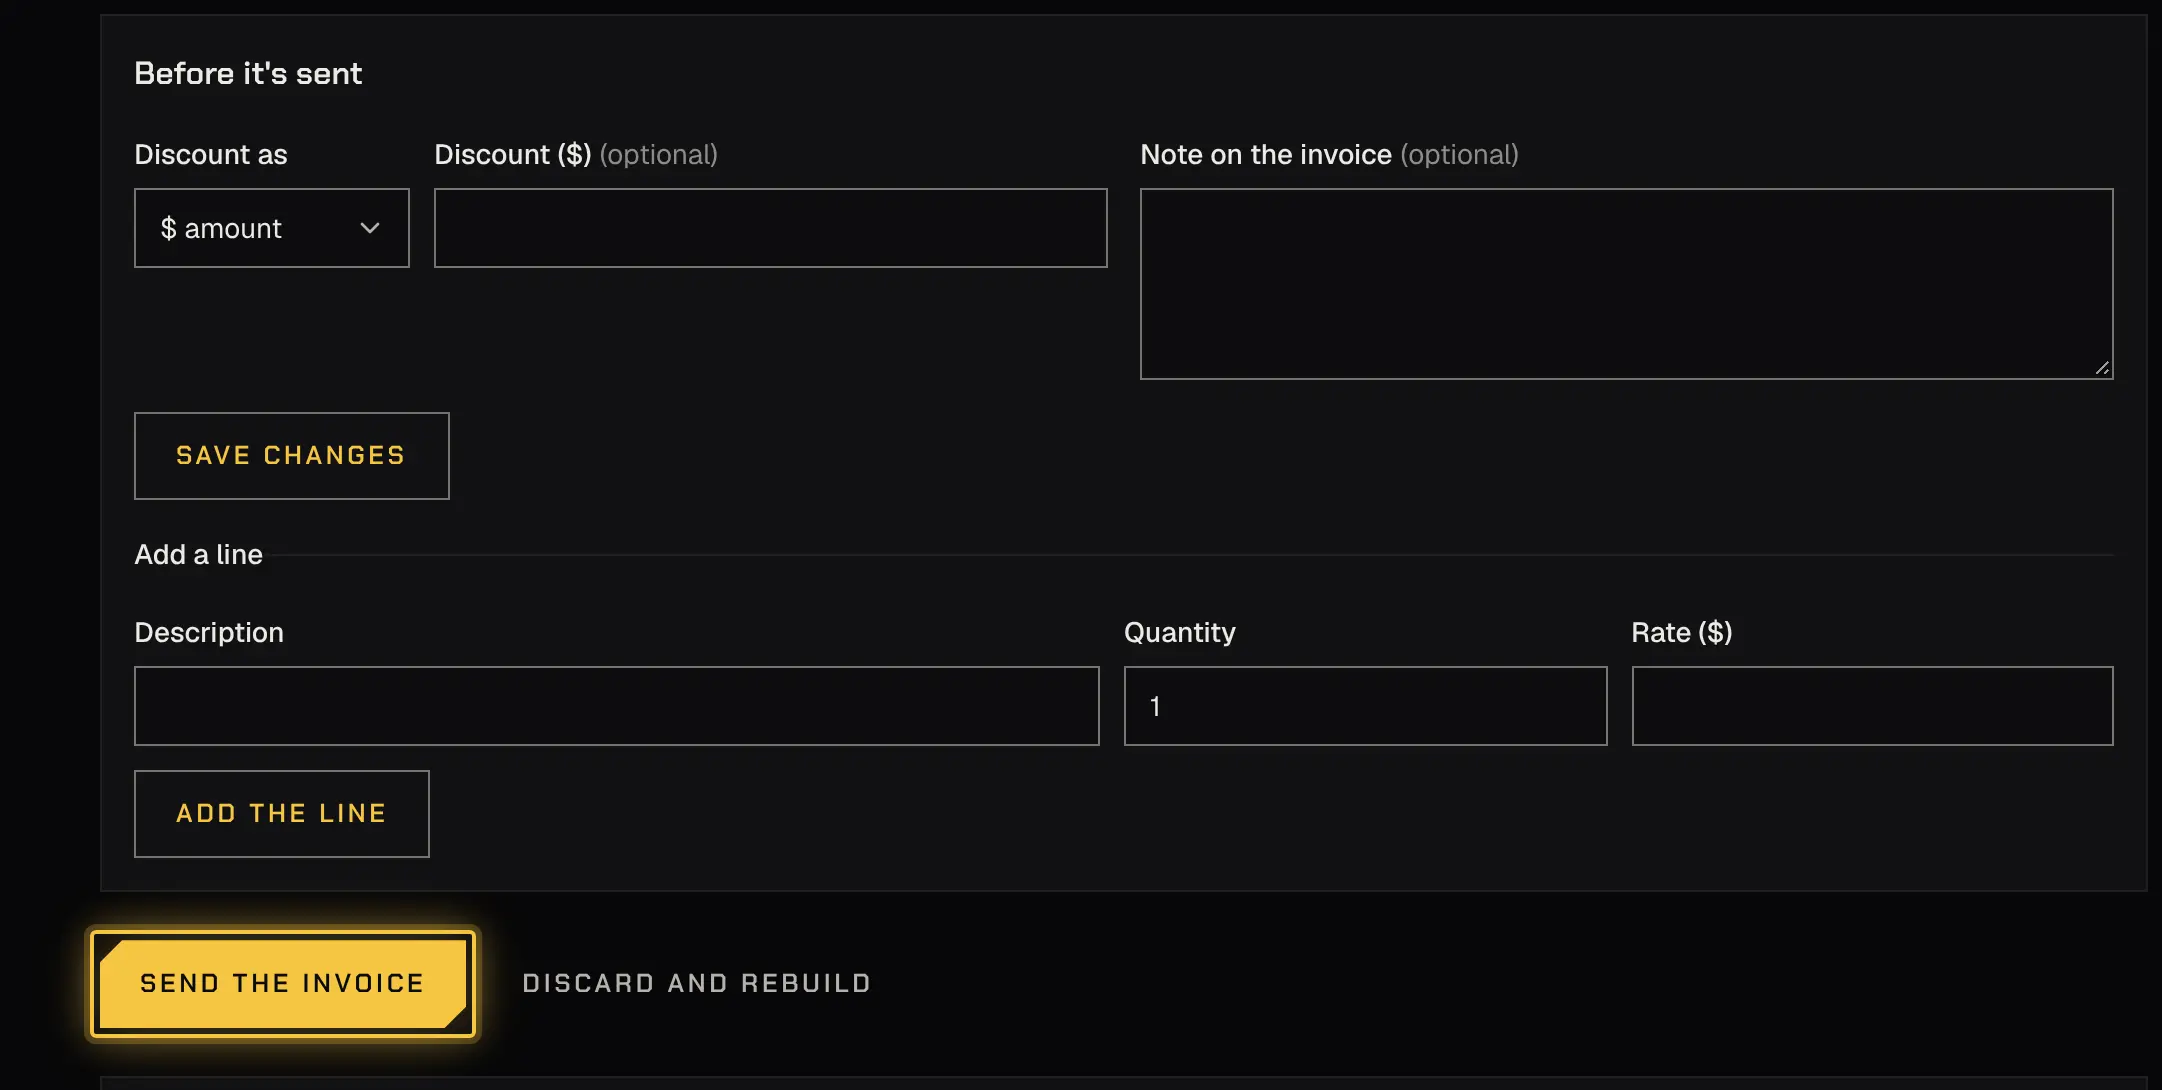
Send the invoice, which is drafted from the approved time (Invoices).
-
It’s paid, online or recorded by you.
-
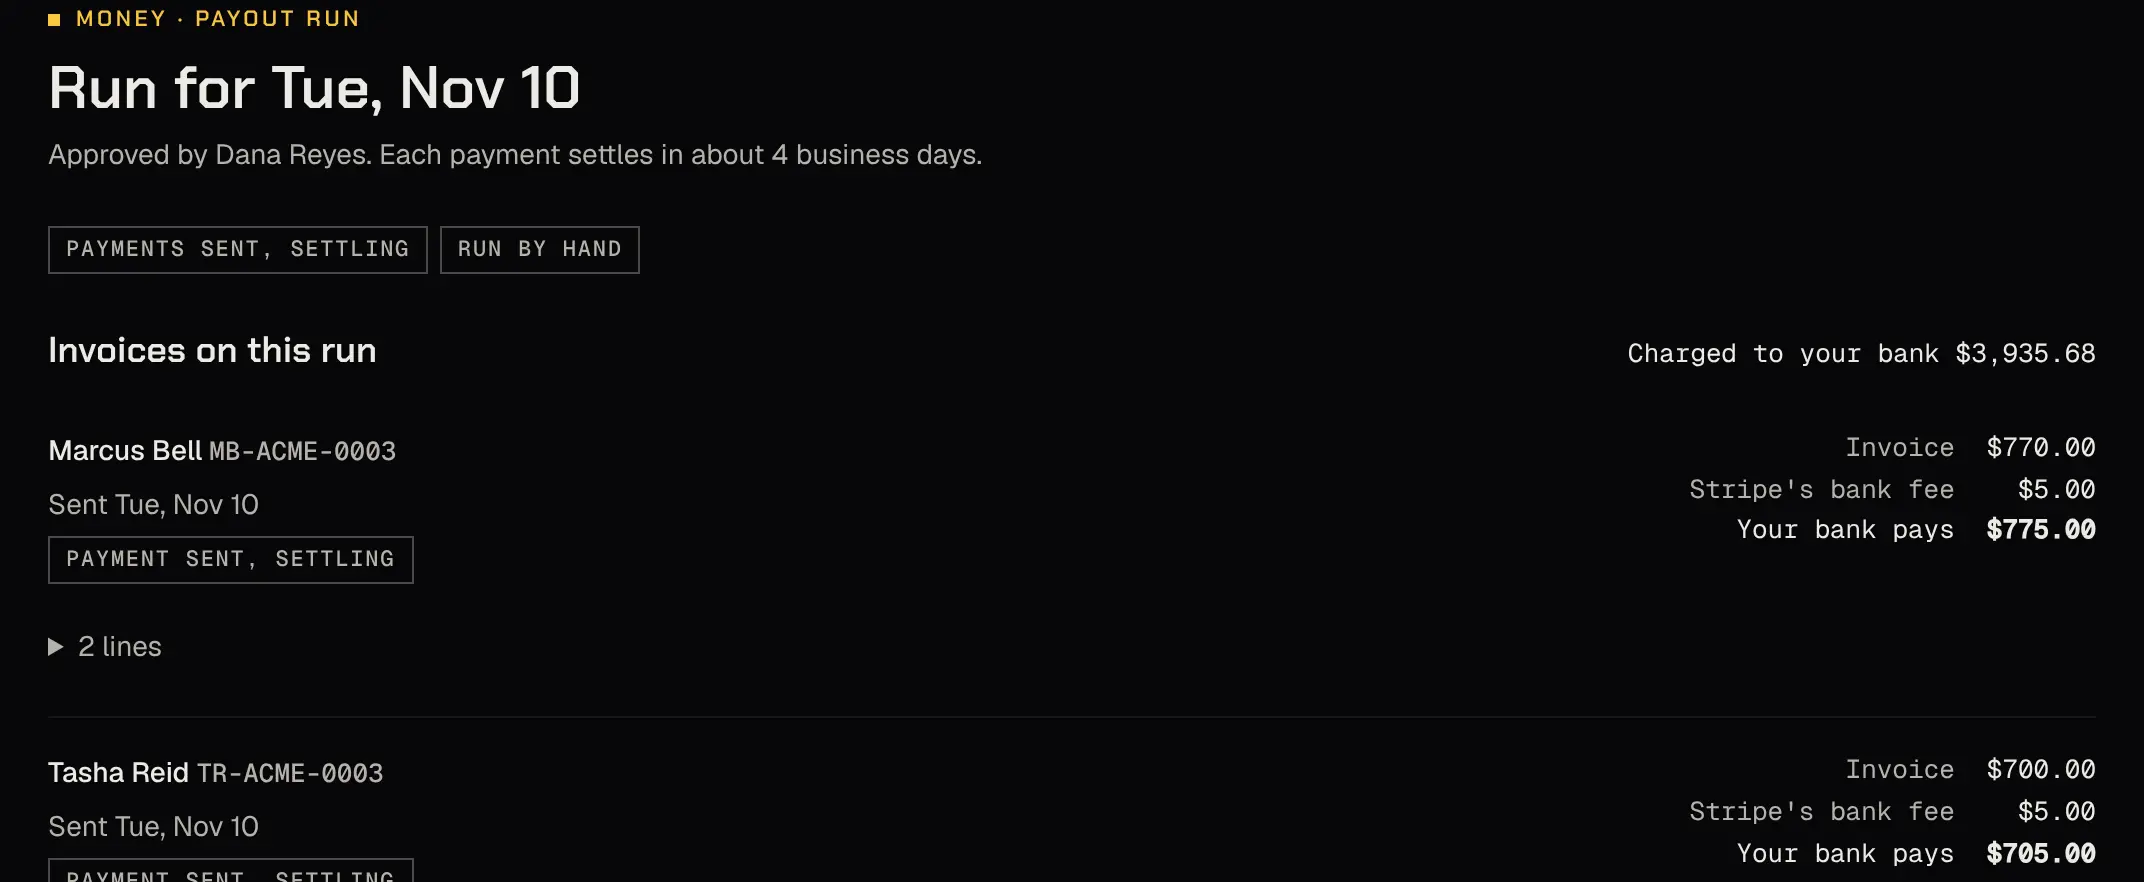
The payout run pays your team’s invoices for the work (Paying your team).
What happens each day after that: Daily operations.
Powered by Shyld