First steps
The portal is your security provider’s, under their name. Each step links the page with the detail.
1. Sign in
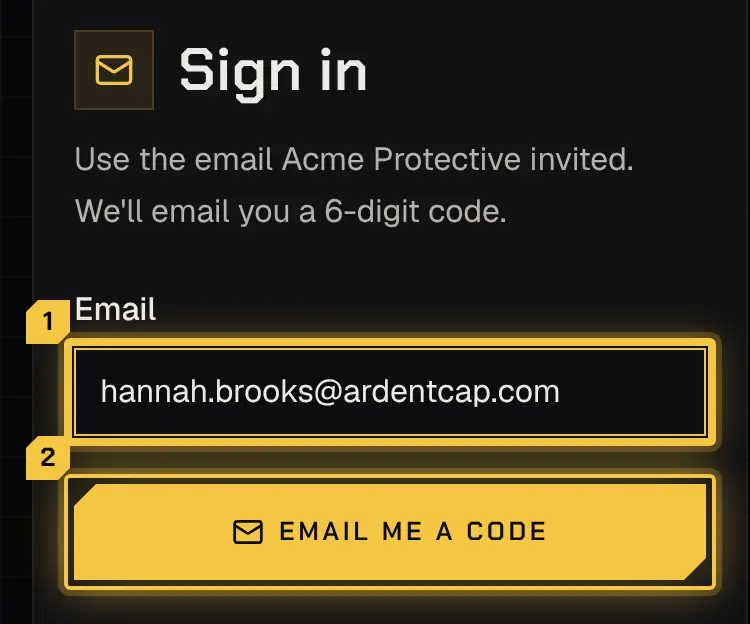
Section titled “1. Sign in”Your first email comes from your security provider: an invite to the portal, or a quote to answer. Open its link, enter your email address and type the 6-digit code that arrives by email. The first time, accept the Terms of Service and Privacy Policy. See Getting started.
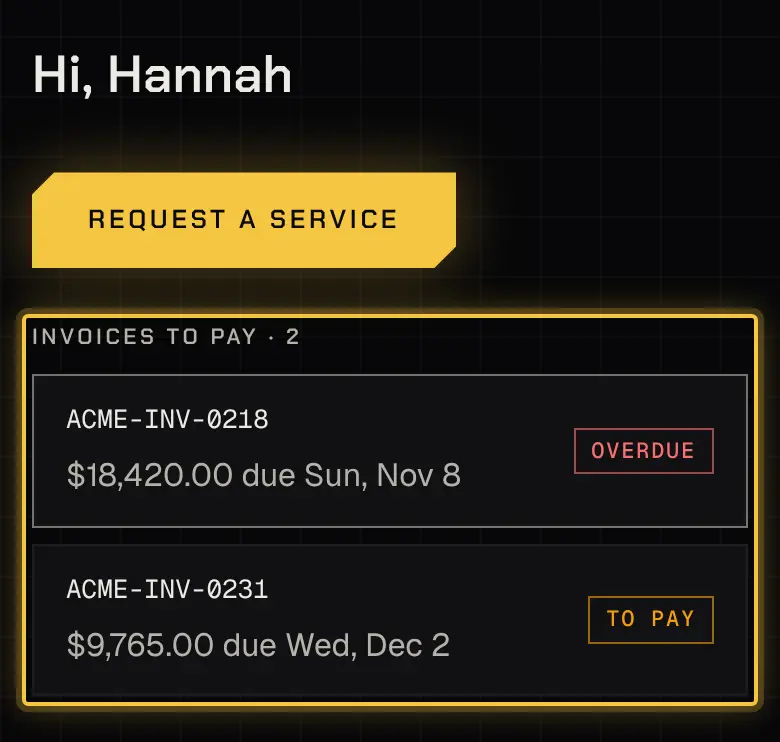
What you can do depends on your role on the account (approving, paying, seeing the live map). Home lists what waits on you.
2. Approve a quote
Section titled “2. Approve a quote”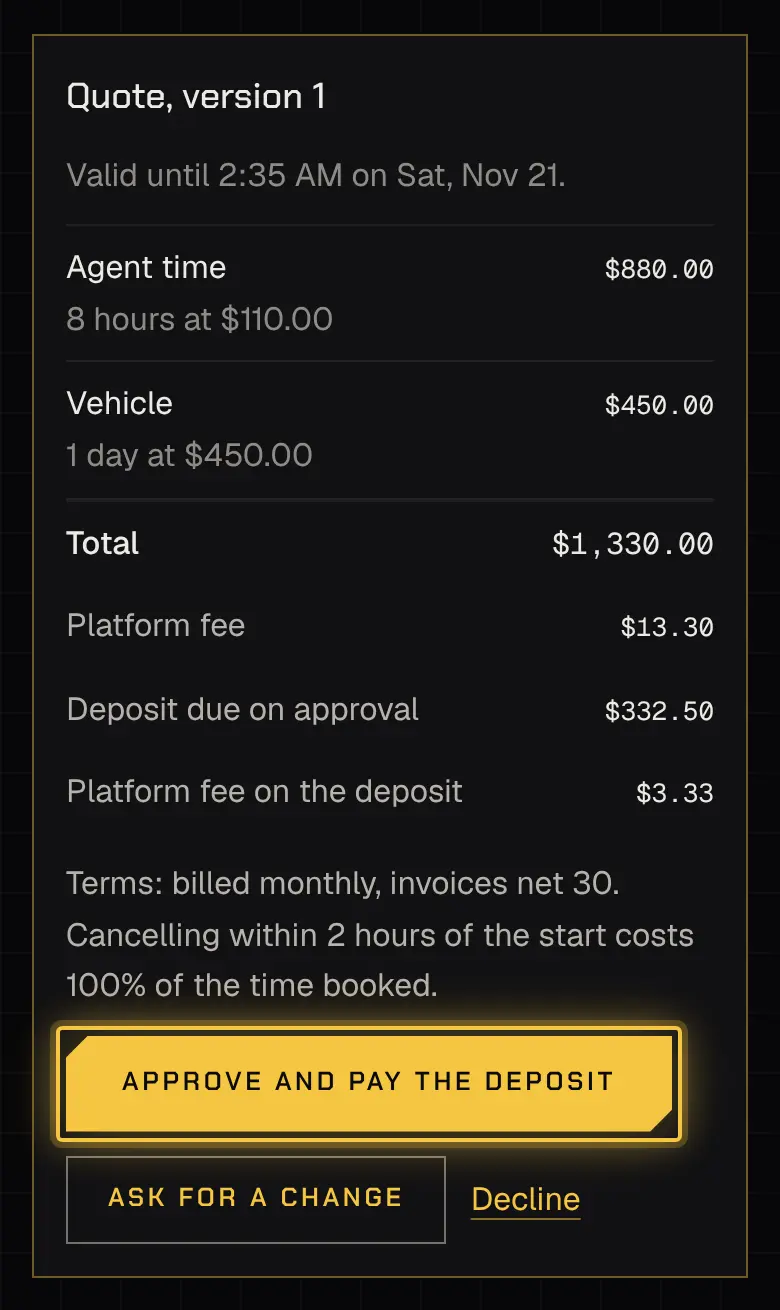
Open the quote from Home or the email. Check the dates, the times and the price, then choose Approve, Ask for a change or Decline. If your account needs a PO number, it’s asked for when you approve.
Some quotes take a deposit when you approve (Approve and pay the deposit). A card payment takes a moment; a bank payment can take up to 4 business days, and the booking reads Approved, deposit clearing meanwhile. See Quotes.
3. Pay an invoice
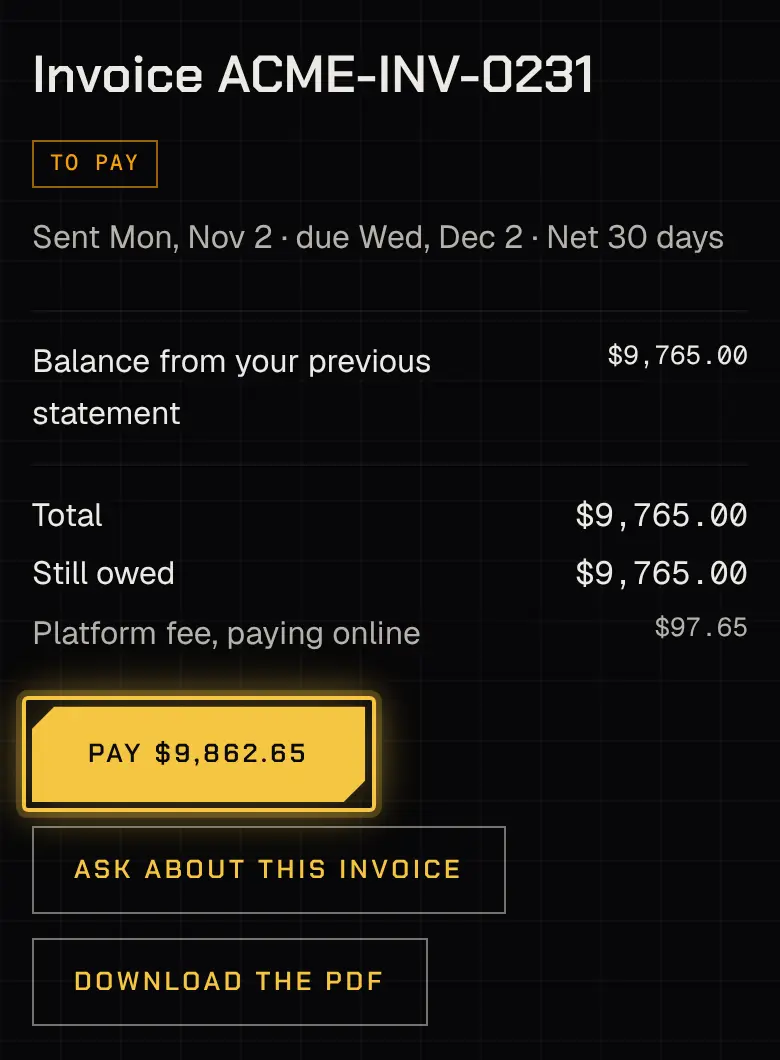
Section titled “3. Pay an invoice”Invoices are under Billing. Open one and choose Pay: by card, Apple Pay or Google Pay where your device has them, or a US bank account. Your receipt comes by email, and the payment is listed on the invoice. You can also pay from the invoice email’s link without signing in. See Invoices.
4. On the day: the live map
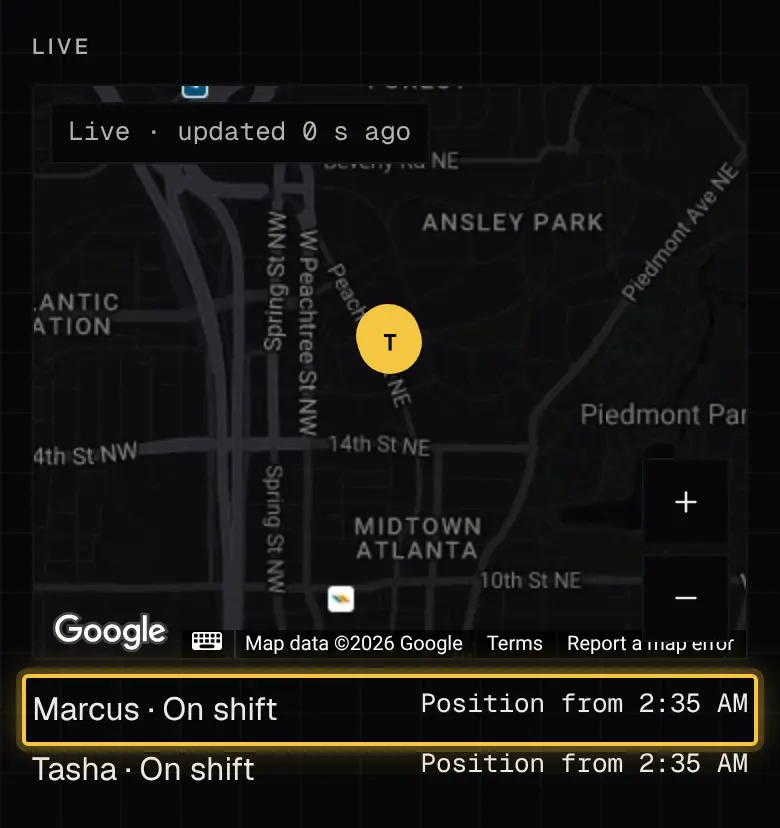
Section titled “4. On the day: the live map”While someone is on the way or on shift, the booking shows a live map, if the service allows it and your role can see it: each person’s last position and what they’re doing. See The live map.
5. Add guests
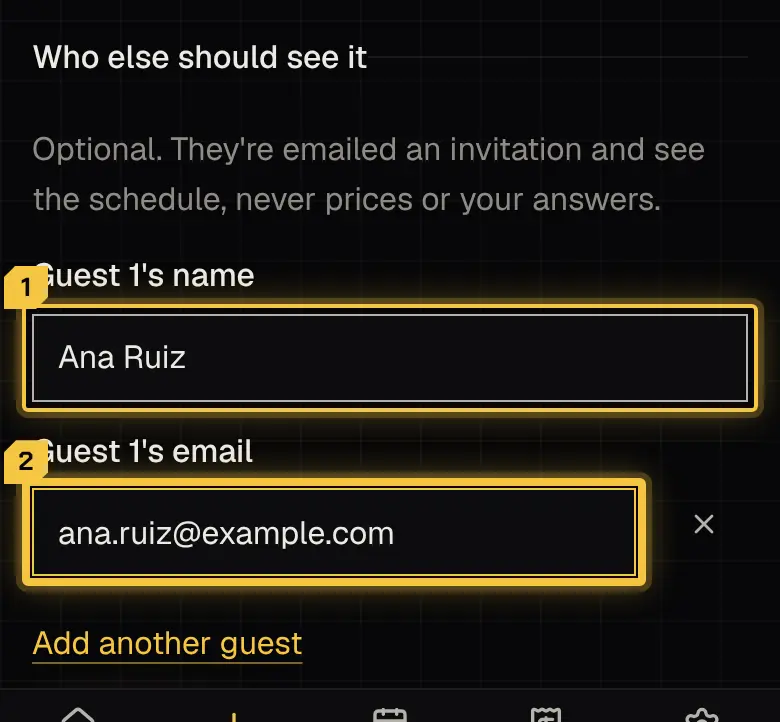
Section titled “5. Add guests”When you request a service or ask for a change, you can name guests by email. A guest sees the booking under Shared: its schedule, who’s on it and the live map, but not its prices or answers. See Bookings.
6. Install the portal on a phone (optional)
Section titled “6. Install the portal on a phone (optional)”The portal works in any browser. On a phone you can also add it to the home screen, where it opens under your security provider’s name:
- iPhone: in Safari, tap Share, then Add to Home Screen.
- Android: in Chrome, open the menu and choose Install app (or Add to Home screen).
Powered by Shyld